
REVIEW · AORAKI MOUNT COOK AND LAKE TEKAPO
Mount Cook: Tandem Skydive Experience
Snow peaks, then a fast fall.
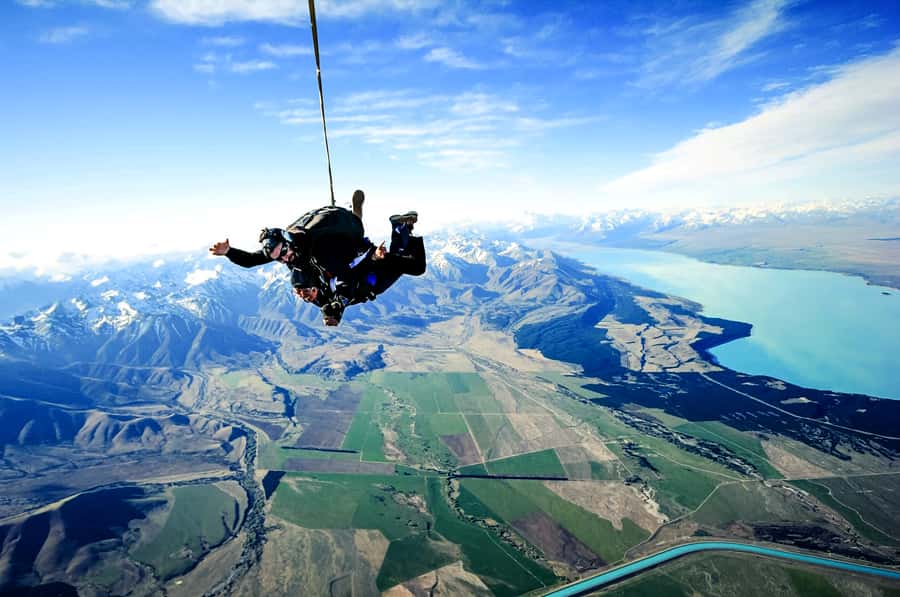
This Mount Cook tandem sky jump gives you an eye-full of New Zealand’s South Island, starting with a calm 20-minute scenic flight over the Aoraki/Mt Cook area and down toward lakes like Pukaki and Tekapo. I also like the tight, small-group setup, so you spend less time waiting and more time getting ready in a focused way.
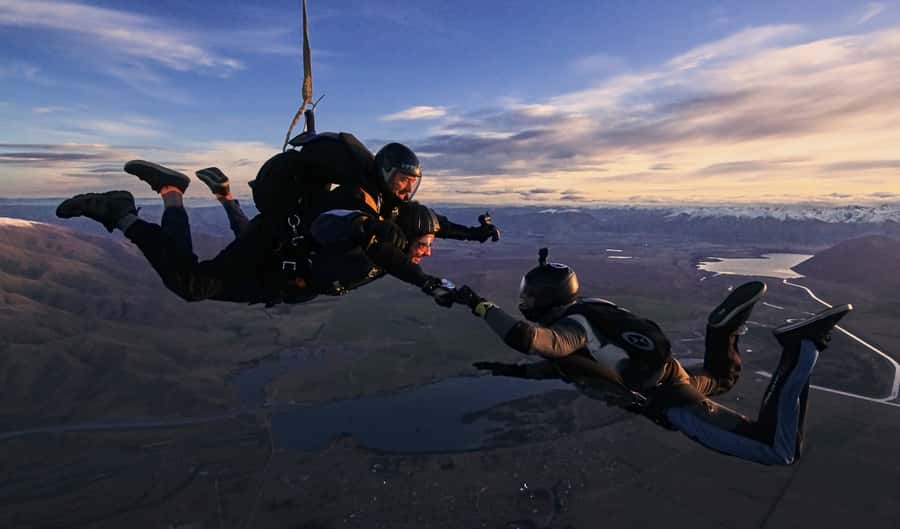
What really stands out for me is the structure of the jump itself: you’ll go up to 13,000 or 16,500 feet and enjoy up to 70 seconds of free-fall, guided end to end by a professional tandem master. Reviews include first-time nerves handled well, with guides such as Javier and Megan called out for calm, reassuring coaching.
One thing to consider, though: this is an outdoor activity in open sky conditions, so wind can lead to cancellations or rescheduling. If this is a once-off surprise plan, I’d build in extra time and have a Plan B.
In This Review
- Key highlights you should care about
- Mount Cook Views, Built Into Every Minute
- From Pukaki-Twizel Airport to the Clouds
- Your Flight Plan: 20 Minutes of Scenery, Then the Jump
- 13,000 vs 16,500 Feet: Picking the Level of Intensity
- Tandem Masters and the Safety Briefing That Actually Helps
- Spot the Region: Mount Cook, Glaciers, and Two Big Lakes
- Photo and Video Options: Should You Pay for the Memories?
- Small Group Size, Big Difference at Check-In
- Price Check: Is $238 Good Value?
- Timing, Weather, and Why You Should Leave Buffer Time
- Best Fit: Who Should Book This, and Who Should Pause
- Should You Book the Mount Cook Tandem Sky Jump?
- FAQ
- How long does the experience take?
- Where do I meet for the sky jump?
- Do I get a scenic flight before the jump?
- What jump altitude options are available?
- How long is the free-fall and parachute phase?
- What’s included in the price?
- What is not included?
- Are there photo and video options?
- Is there an age limit?
Key highlights you should care about
- Mount Cook, Pukaki, and Tekapo from above: the scenery is the whole point here, from glaciers to lake shapes you can actually see.
- Tandem coaching for first-timers: you’re paired with a professional instructor who handles the steps and equipment.
- Up to 70 seconds of free-fall: it’s brief, intense, and designed as a real thrill without requiring prior jumps.
- Short, managed timing on the ground: about 2 to 3 hours from airport arrival to your full experience.
- Small group limit of 8: easier communication and less crowding at the check-in stage.
Higher up, around Aoraki and Tekapo
- Mount Cook: 3 Hour Heli Hike to the Tasman Glacier
★ 4.7 · 218 reviews - Mount Cook: Helicopter Flight with Alpine Landing
★ 4.9 · 36 reviews - Christchurch to Mt Cook via Lake Tekapo (1 way)
★ 5.0 · 15 reviews - Mount Cook: Tasman Glacier Helicopter Flight
★ 4.3 · 7 reviews
Mount Cook Views, Built Into Every Minute
This experience works because it blends two very different moods. First you get a steady look at the South Island from the plane, then you switch from calm to chaos with a fast free-fall. After that comes the quieter phase, with around 5 minutes under a parachute to take in what you just flew through.
I like that the route is designed around the big-name scenery you came to see anyway. You’re aiming for Aoraki/Mt Cook National Park views, plus the big glacier-and-lake contrast you see around Lake Pukaki and Lake Tekapo. If you love New Zealand’s dramatic topography, you’ll understand why the jump altitude matters too.
The group size helps with the vibe. Limited to 8 participants, you are not just another number in a giant lineup. That usually makes the safety briefing feel more personal and practical, which matters when you’re nervous.
From Pukaki-Twizel Airport to the Clouds
You meet the partner at Pukaki-Twizel Airport, and you should plan for about 2 to 3 hours total from when you arrive at the airport. That time on the ground is where you’ll do the check-in and go through your safety briefing, plus get geared up with the equipment.
There’s no hotel pickup or drop-off included. If you’re traveling with a rental car or shuttle, factor in the drive so you don’t walk in stressed and rushed. I also recommend eating beforehand, because food and drinks aren’t included.
The provider listed is INFLITE Mt Cook Ski Planes & Helicopters, so you’re dealing with a team that operates in a high-change environment. That matters because timing and operations can shift based on conditions, and you need to stay flexible.
Your Flight Plan: 20 Minutes of Scenery, Then the Jump
The core flow is simple and that’s a good thing. You’ll do a 20-minute scenic flight, which is there for more than sightseeing. It gives you time to get used to being in the sky, watch what your region looks like from above, and get mentally ready for the moment you leave the plane.
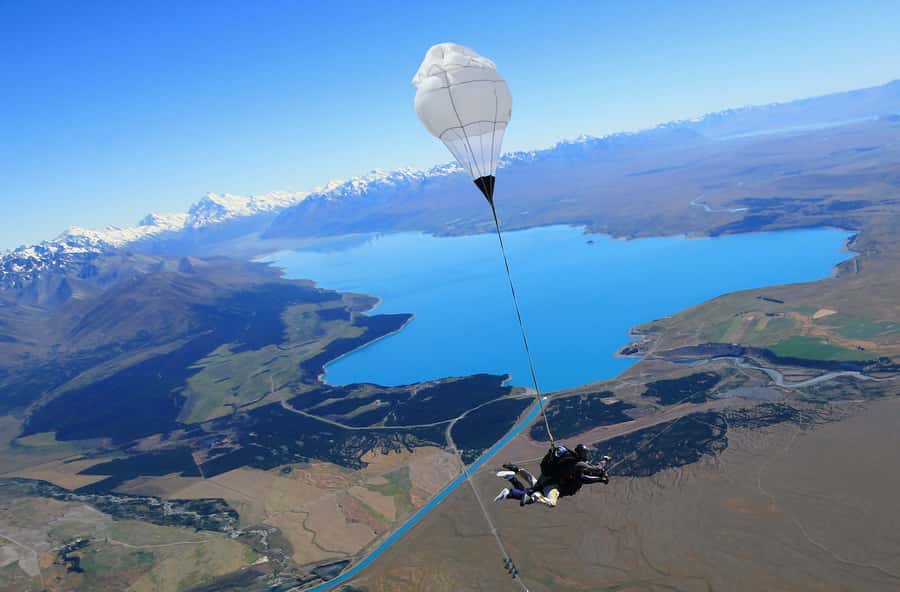
Then comes the main event: a tandem jump from either 13,000 feet or 16,500 feet above the ground. You’re paired with a professional tandem master, so you’re not managing altitude, timing, or equipment. The experience includes up to 70 seconds of free-fall, which is long enough to feel like a real chapter, but short enough that it doesn’t drag.
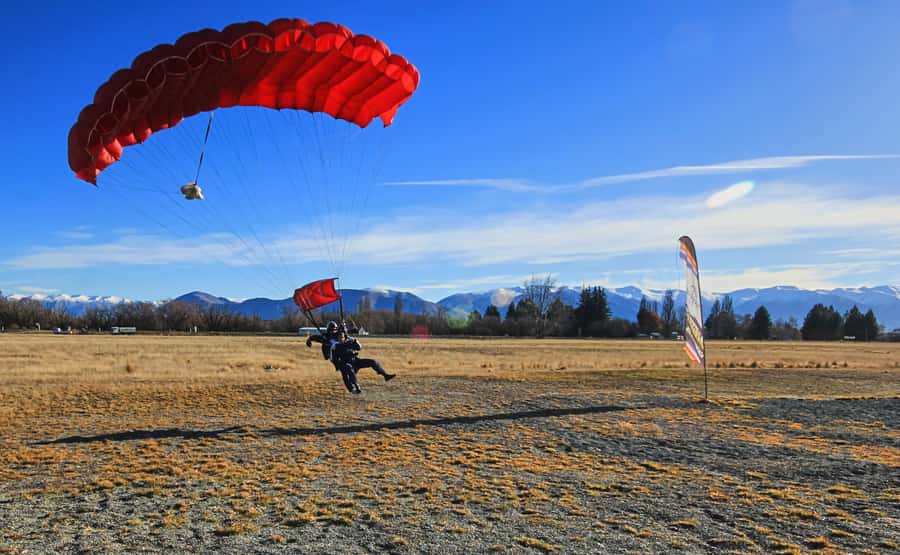
After free-fall, you glide with a parachute for about 5 minutes. That parachute phase is when you can actually process what you saw from above and take your breath back, even if your heart is still doing a victory lap.
13,000 vs 16,500 Feet: Picking the Level of Intensity
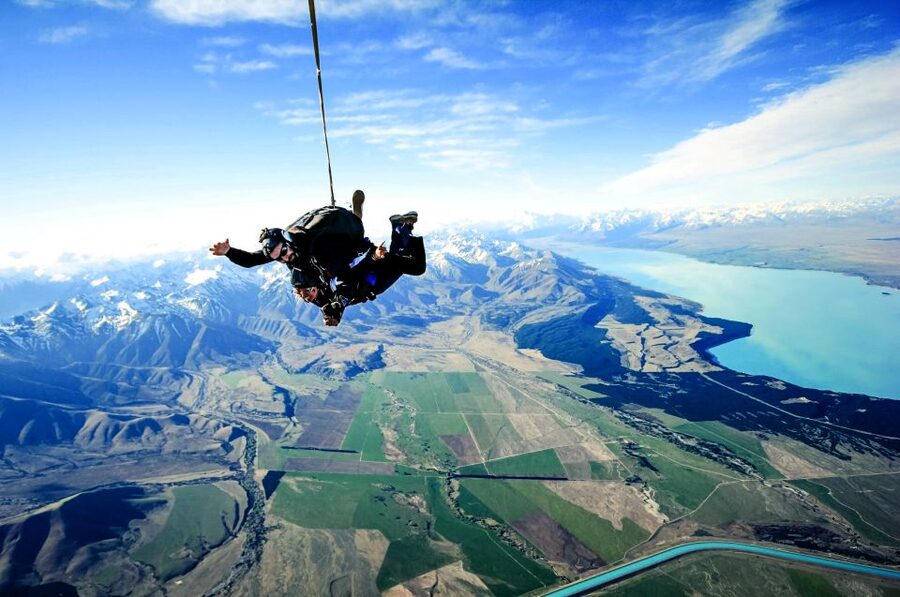
You have a clear choice between 13,000 feet and 16,500 feet. The higher option generally means more time in the air overall before the parachute phase, and you’re getting a bigger “from here to there” view across the region.
What I like about this choice is that it lets you match the experience to your comfort level. If you’re a first-timer, some people prefer the slightly lower option to reduce mental pressure. If you’re chasing the maximum thrill, the higher altitude is the way to go.
The listing also emphasizes that the free-fall portion is up to 70 seconds. So regardless of altitude, you should expect a concentrated adrenaline moment, not a slow teeter into the sky.
Tandem Masters and the Safety Briefing That Actually Helps
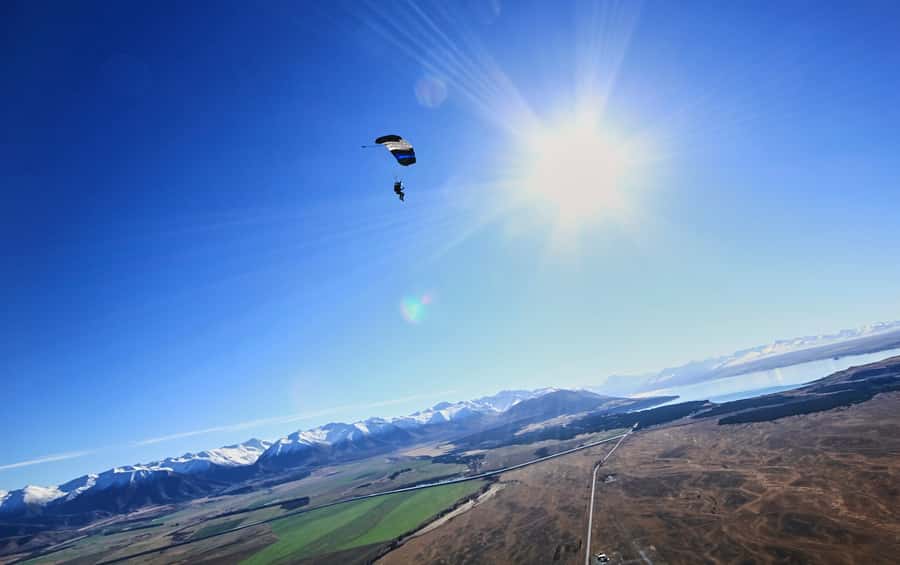
The best part of a tandem jump is not the gear. It’s the person strapped to you. This experience includes an instructor tandem master and a safety briefing, plus all equipment, so you’re not assembling anything or guessing how it all works.
In reviews, guides like Javier and Megan are singled out for being reassuring, especially for nervous jumpers. That’s a real quality signal. If you freeze at the plane door, you want someone who can stay steady and give you simple, direct instructions.
Your job is mostly to listen, follow directions, and communicate any concerns early. If you’re the type who needs to understand what’s happening next, ask questions during the briefing. The format is designed for clear, guided steps, and a good tandem master will make that feel normal fast.
Spot the Region: Mount Cook, Glaciers, and Two Big Lakes
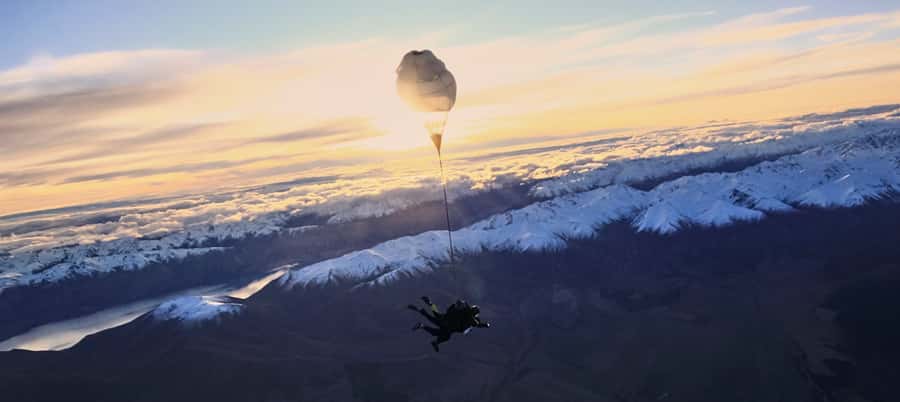
This is one of the reasons this particular jump location is worth the effort. You’re flying over a region where mountains, ice, and lakes sit close enough to read visually from above.
The key sights you’ll be watching for include:
- Aoraki/Mt Cook National Park, with snow-capped peaks dominating the view
- Glaciers, where you can see how ice flows and breaks into different textures
- Lake Pukaki and Lake Tekapo, which stand out due to their water color and shore shapes
From the ground, these places look impressive. From the air, they look engineered by nature. You’ll get a sense of scale quickly, and you’ll likely understand why people connect this area with “once in a lifetime” experiences.
If weather is clear, the views are the payoff. If visibility is limited, the experience still happens, but the “wow” factor leans more on the sensation than the scenery. Either way, your tandem master will guide you through the phases so you can stay focused on what matters.
Photo and Video Options: Should You Pay for the Memories?
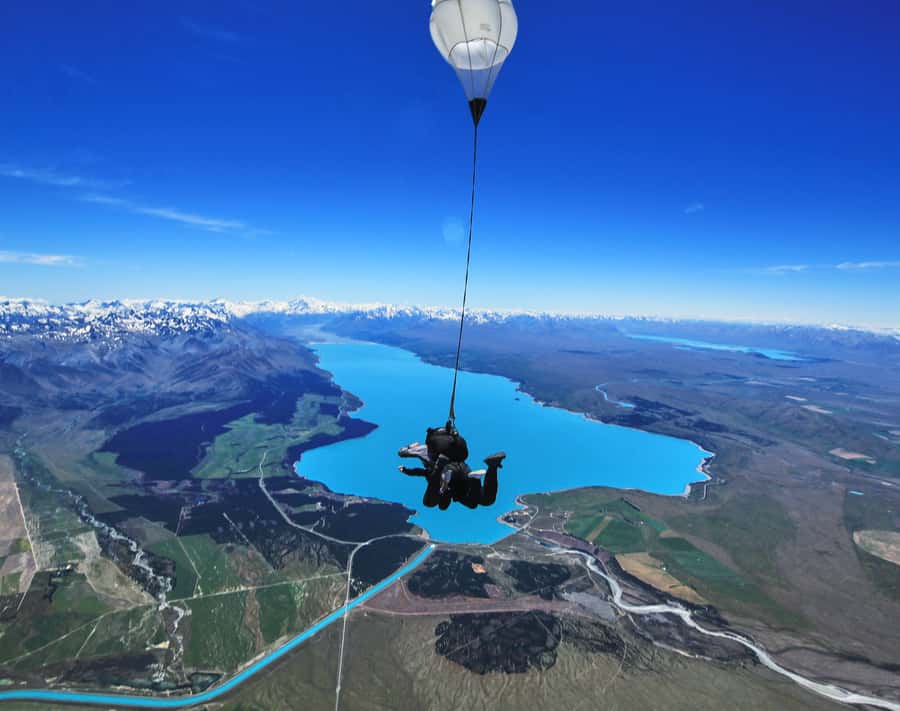
The experience includes the chance to capture your jump with photo and video options. If you’re the kind of person who wants proof for family back home, it’s worth considering, because your own perspective during free-fall is mostly internal.
The parachute phase is calmer, so you might still want images from that moment too. But the free-fall part is the one you’ll remember physically, and having a visual record can turn a personal adrenaline story into something you can share.
I’d decide based on your group situation. If you’re jumping with a partner or traveling with relatives who didn’t join, a souvenir video can be the easiest way to keep everyone included in the moment.
Small Group Size, Big Difference at Check-In
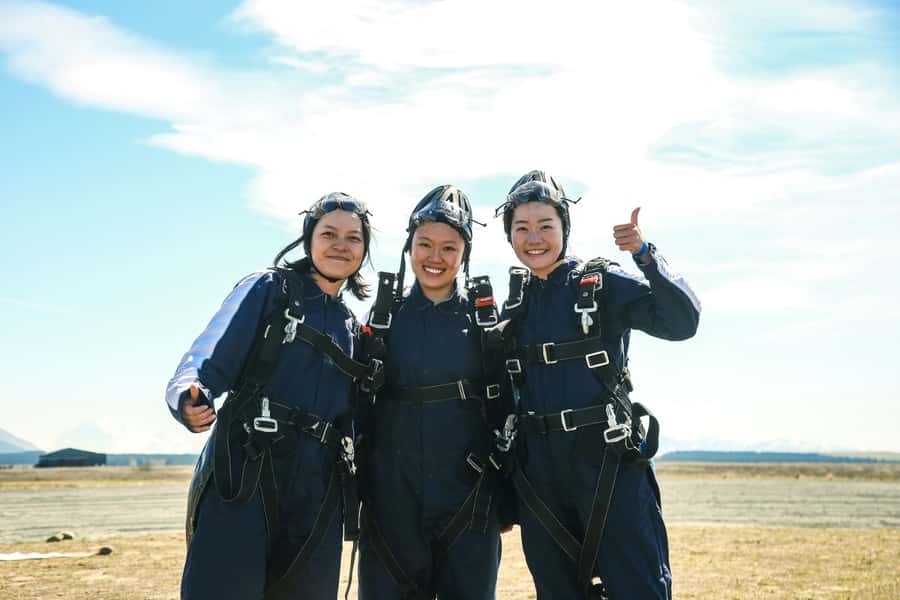
A small group limit of 8 participants sounds like a fine detail until you’ve done experiences with big crowds. With fewer people, the staff can explain things without rushing, and you can get your questions answered.
It also tends to reduce waiting time once you’re on-site, even though the overall time window is still about 2 to 3 hours from airport arrival. That’s because your flight timing has to line up with aircraft operations, safety procedures, and your jump sequence.
Another practical point: if you’re sensitive to delays, plan your day to stay flexible. One schedule change can ripple into meals, transport, and other activities. This is especially true since outdoor sky conditions can affect whether and when you jump.
Price Check: Is $238 Good Value?
At $238 per person, this is not a cheap thrill. But it can be good value if you look at what’s included.
You’re paying for:
- A tandem skydive with a professional instructor
- A safety briefing
- All equipment
- A scenic 20-minute flight
- Choice of jump height (13,000 or 16,500 feet)
- A defined free-fall and parachute segment
What’s not included is also clear: food and drinks and hotel pickup/drop-off. So your real cost is $238 plus whatever you spend getting to the airport and eating beforehand.
Given that you’re getting a full aircraft segment plus the guided jump, I view the price as reasonable for a properly managed, tandem-first experience in a remote, high-scenery location. It’s the kind of activity where “cheap” can mean less time in the air or less confident guidance, and that’s not where you want to bargain.
Timing, Weather, and Why You Should Leave Buffer Time
You should know the activity can be affected by conditions. A couple of experiences in the reviews describe cancellations due to wind and the frustration of being mid-travel before being told. Another review describes rescheduling changes driven by operational timing, not just weather, and still ending in cancellation after moving plans.
I can’t promise outcomes, but I can help you plan smart. If this is a surprise for someone specific, don’t pack your whole day so tightly that a reschedule ruins everything. I’d schedule it as a centerpiece activity and keep other plans flexible for that same window.
Also, expect a 2 to 3 hour presence at the airport. This is not a quick in-and-out stop. Build your day so you can wait without losing your mind.
Best Fit: Who Should Book This, and Who Should Pause
This is a great fit if you want a first-timer friendly tandem experience with strong safety structure and a scenic route over one of New Zealand’s most recognizable mountain regions. The small group and English-speaking instructor also make it easier to understand what’s happening and what you need to do.
It’s also a good choice for people who enjoy a mix of moments: the calm scenic flight, then a short intense free-fall, then the calmer parachute glide with time to look around.
Consider pausing or planning extra carefully if:
- You have very tight timing in your itinerary
- You’re not comfortable with the possibility of changes due to sky conditions
- You’re bringing young kids, since the guidance says children under 12 should be evaluated individually, and anyone under 18 needs parental or guardian consent
If you meet those comfort and planning needs, the payoff can be huge.
Should You Book the Mount Cook Tandem Sky Jump?
I’d book this if your goal is a guided, scenic South Island adrenaline moment with professional coaching and high scenic payoff. The combination of a scenic flight, a defined free-fall segment up to 70 seconds, and a parachute glide around 5 minutes is a strong design for people who want to feel the thrill without needing prior experience.
Before you pay, do two things. First, plan your schedule around the reality of on-site time, about 2 to 3 hours from airport arrival. Second, decide whether you can handle possible rescheduling without turning your trip upside down.
If you can do those two, this jump can be a standout “I’ll remember that forever” memory over Mount Cook and the lakes below.
FAQ
How long does the experience take?
Plan for around 2 to 3 hours from your airport arrival time, with the total activity described as 3 hours.
Where do I meet for the sky jump?
Meet the local partner at Pukaki-Twizel Airport.
Do I get a scenic flight before the jump?
Yes. You’ll have a 20-minute scenic flight.
What jump altitude options are available?
You’ll jump from either 13,000 feet or 16,500 feet above the ground.
How long is the free-fall and parachute phase?
You get up to 70 seconds of free-fall, followed by about 5 minutes gliding with a parachute.
What’s included in the price?
Included are the tandem jump at the selected altitude, a safety briefing, an instructor, and all equipment.
What is not included?
Food and drinks are not included, and hotel pickup or drop-off is not included.
Are there photo and video options?
Yes, photo and video options are available to capture your skydive experience.
Is there an age limit?
All ages are encouraged, but parental or guardian consent is required for anyone under 18. Children under 12 should be evaluated on an individual basis.
Everything Else We Wrote Up in Aoraki Mount Cook Village
Aoraki and the Mackenzie
Just added to our Aoraki Mount Cook Village notes
- Mount Cook: Tasman Glacier and West Coast Helicopter Flight★ 5.0 · 6 reviews
- Mount Cook: Tasman Glacier Helicopter Flight★ 4.3 · 7 reviews
- Christchurch to Mt Cook via Lake Tekapo (1 way)★ 5.0 · 15 reviews
- Mount Cook: Helicopter Flight with Alpine Landing★ 4.9 · 36 reviews
- Mount Cook: 3 Hour Heli Hike to the Tasman Glacier★ 4.7 · 218 reviews
Aoraki Mount Cook and Lake Tekapo, compared.
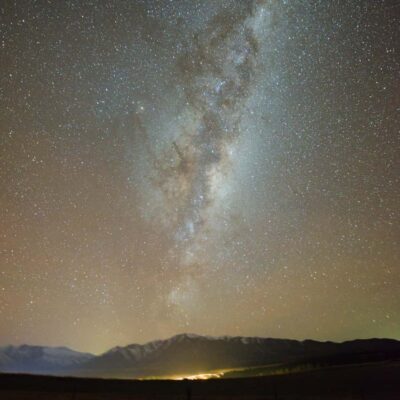 ★ 4.5Lake Tekapo: Alpine Stargazing Experience with a GuideFrom $59626 reviews
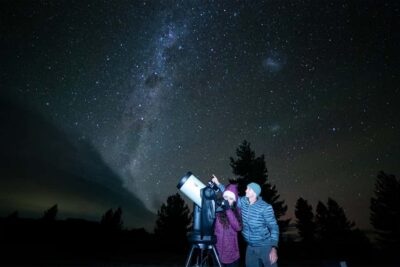 ★ 4.9Lake Tekapo: Stargazing ExperienceFrom $71607 reviews
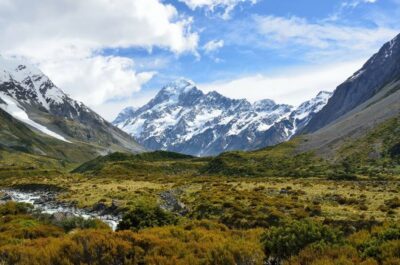 ★ 4.9Mount Cook & Lake Tekapo Day Tour from ChristchurchFrom $146483 reviews
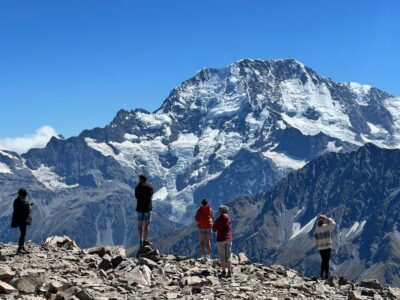 ★ 4.8Mount Cook: Scenic Helicopter Flight with Alpine LandingFrom $226442 reviews
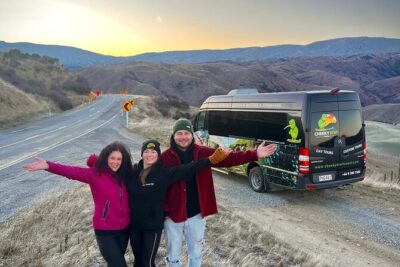 ★ 5.0Mt Cook Small Group Scenic Day Tour from QueenstownFrom $164407 reviews
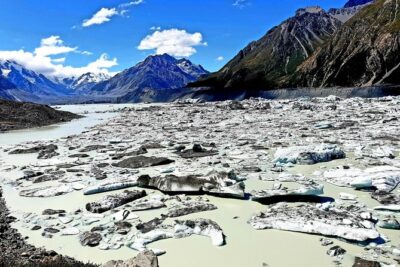 ★ 5.0Mount Cook, Lake Tekapo and Tasman Glacier Tour from ChristchurchFrom $155353 reviews
 ★ 4.6From Christchurch: Mt Cook Day Tour & Lake TekapoFrom $175331 reviews
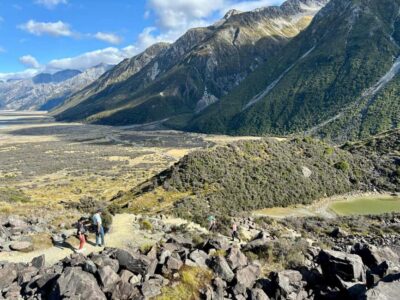 ★ 4.8From Queenstown: Mt Cook & Tasman Glacier Viewpoint Day TourFrom $146329 reviews
Browse the lists this tour appears in