
REVIEW · TAURANGA AND THE BAY OF PLENTY
Tauranga Shore Excursion: History & Kiwifruit Tasting – 4 Hours
Four hours goes fast in Tauranga. This small-group shore excursion links Mt Maunganui, harbor history, and kiwifruit orchard tastings without wasting your day.
I especially like the small group size (max 11) and the live local commentary, because you get a more human pace than the big bus circuit. The only real catch is that a good chunk of time is spent driving around the harbor area, since it helps you reach all the stops.
In This Review
- Key highlights to watch for
- Tauranga in 4 hours: the smart half-day format
- Pickup, max 11, and why the vehicle matters
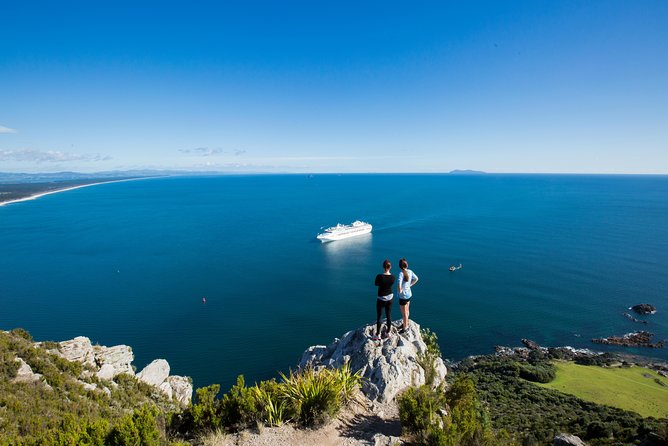
- Stop 1: Mount Maunganui, beach views and quick regional context
- Stop 2: Tauranga Harbour Bridge and the Port of Tauranga story
- Stop 3: Minden Lookout, Kaimai foothills, and tea options
- Orchard tastings: kiwifruit, avocado, and tea where it makes sense
- The guide makes or breaks it, and here that’s a strong point
- Pacing, driving time, and the one tradeoff to plan for
- Price and value: is $65.78 worth a half day?
- Weather and timing: when to book and what to wear
- Should you book this Tauranga shore excursion?
- FAQ
- How long is the Tauranga Shore Excursion, History & Kiwifruit Tasting?
- What is included in the kiwifruit tasting portion?
- Are fruit picking activities included?
- Does the tour include pickup and drop-off?
- How many people are in the group?
- Where is the meeting point?
- Is the tour offered year-round?
- What if the weather is bad?
- Is this tour accessible for guests with mobility aids?
- Is a mobile ticket used?
- What is the cancellation policy?
Key highlights to watch for
- Mt Maunganui beach time plus regional orientation early in the tour
- Tauranga Harbour and the Port views from the road, plus how industry shaped the city
- Minden Lookout for Kaimai foothills scenery and an easy photo break
- Orchard-style tasting of kiwifruit, avocado, and local tea (no fruit picking)
- Guides who answer questions and keep stops unhurried, with time to soak it in
Around the Bay of Plenty, also worth a look
- Tauranga Shore Excursion: Rotorua Highlights
★ 4.5 · 427 reviews - Tauranga: Evening Glowworm Kayak Tour
★ 5.0 · 311 reviews - 6.5 hour Small-Group Rotorua Naturally Shore Excursion – Tauranga
★ 4.5 · 283 reviews - Hobbiton Movie Set Shore Excursion from Tauranga (6 Hours)
★ 5.0 · 267 reviews
Tauranga in 4 hours: the smart half-day format
If you have only a half day in Tauranga, this tour is built for exactly that reality. The itinerary is a loop that takes you from Mt Maunganui into central Tauranga and out toward the Kaimai foothills, so you leave with a clearer sense of how the region is put together.
The duration is about 4 hours, and it tends to feel “complete” rather than rushed. A few departures even get described as unhurried, meaning you get time for photos and to actually look at what you’re standing in front of, not just pause and move on.
This is also a good match for cruise passengers and short-stay visitors because the tour focuses on key highlights without requiring you to coordinate multiple buses, cars, or taxis. You’re not trying to see everything in New Zealand, you’re just getting your bearings fast in the Bay of Plenty.
Pickup, max 11, and why the vehicle matters
This tour runs with a professional local driver-guide, and it keeps group size small, up to 11 travelers. That matters more than you’d think. When you’re in a smaller group, questions are easier to answer and the guide can adjust the pace if people want extra photo time or need a slower walking moment.
There’s port pickup and drop-off, and you ride in an air-conditioned vehicle. That’s especially useful if you’re arriving in warmer months (the tour runs in season, October to April). It also reduces stress. Instead of meeting in the middle of the chaos, you start at the port area and let the guide handle the routing.
Meeting point is Port of Tauranga Ltd, 2 Salisbury Avenue, Mount Maunganui 3116. If you like knowing exactly where you’ll be, this one is straightforward.
One practical note: the tour also states limited mobility aid accessibility and asks you to discuss needs with the operator ahead of time. The general requirement is that passengers must be able to get on and off with minimal assistance.
Stop 1: Mount Maunganui, beach views and quick regional context
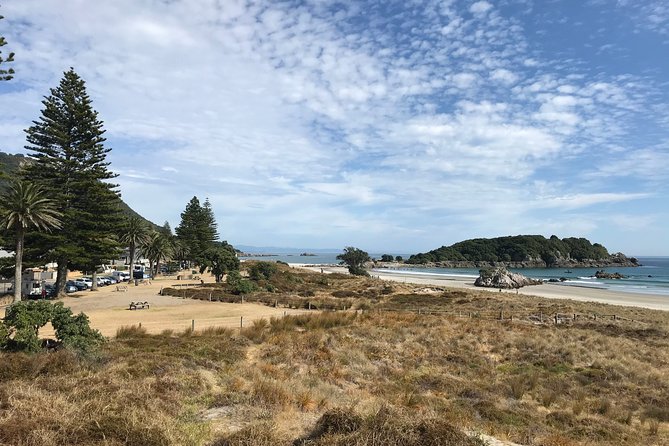
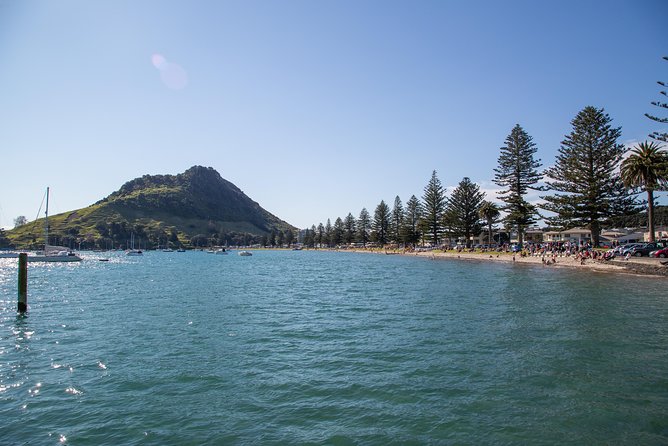
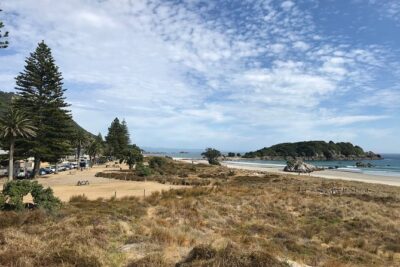
Mount Maunganui is the tour’s opening act, and it’s a smart choice. You start here because it gives you an immediate sense of the coast that defines this part of New Zealand.
You’ll spend about 1 hour at this first stop. The guide also uses the drive to set context: how the landscape formed, when people arrived, and how the city was founded. Even if you do not consider yourself a history person, this kind of short orientation helps everything else you see later make sense.
What you can realistically do with that hour depends on the day, but expect you’ll have time to enjoy the beach atmosphere and snap a few pictures. Since this is the first stop, it also works as a gentle landing after travel days.
A small drawback to be aware of is that one or two stops tend to be shorter than you might hope, especially if you’re the type who wants long, slow beach time. The tradeoff is that you get orchard tastings and port views in the same half day.
Stop 2: Tauranga Harbour Bridge and the Port of Tauranga story
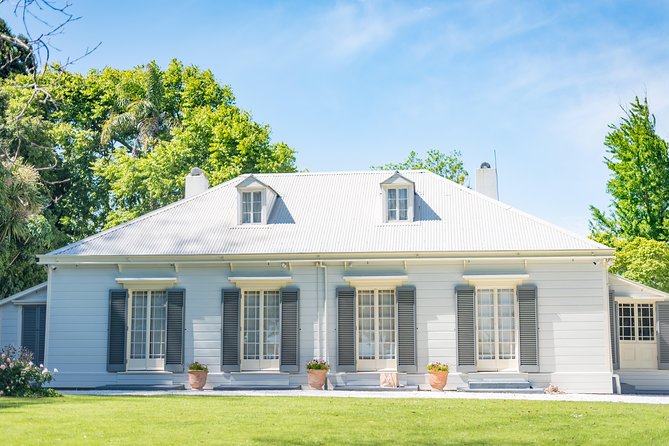
Next comes Tauranga itself, and the tour takes you across the harbour bridge. This is not just a scenic detour. It’s where you start understanding why Tauranga is the way it is today.
You’ll spend about 1 hour here, including time to pass through the Port of Tauranga area. The guide’s commentary connects the dots between industry and the city’s growth. You also get views of the harbour, which helps you see the scale of the port and how it shapes daily life.
One reason people like this stop is that it feels different from the usual “downtown stroll” tours. Port geography is a big part of Tauranga’s identity, and seeing it from the road gives you a clear sense of what’s happening around you, even if you do not go inside any specific terminal.
If you dislike industrial scenes, you might find this is the least relaxing portion of the loop. But if you enjoy real-world context, it’s also the stop that makes the rest of the day click.
More plates and glasses around Tauranga

Stop 3: Minden Lookout, Kaimai foothills, and tea options
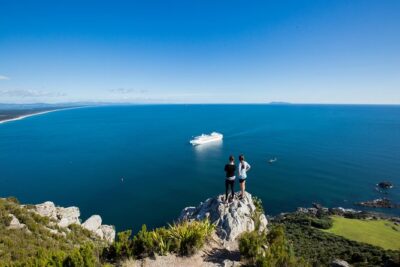
After Tauranga, you head toward the Kaimai Ranges foothills and stop at Minden Lookout. This section is where the tour slows down a bit and gives you room to breathe.
You’ll spend about 2 hours in this broader stop block, which includes:
- scenic viewpoints
- a lunch and shopping break
- an opportunity to taste locally sourced tea
The lookout is also a favorite because it’s a classic “stand somewhere high and understand the area” moment. You’ll have a chance to look over the region and take photos without feeling like you’re fighting for time.
Two helpful things here:
1) The tea tasting is not just random. It connects to the local agriculture vibe that you’ll also notice later with the orchard.
2) The tour includes time at a cafe option during the break, and feedback on the coffee is generally positive, with the note that they can accommodate people who need separate meal choices due to allergies.
If you’re the type who wants one long lunch rather than split-up breaks, this is still doable, but plan to keep lunch flexible. You’ll be fitting lookout time and tea tasting into the schedule.
Orchard tastings: kiwifruit, avocado, and tea where it makes sense
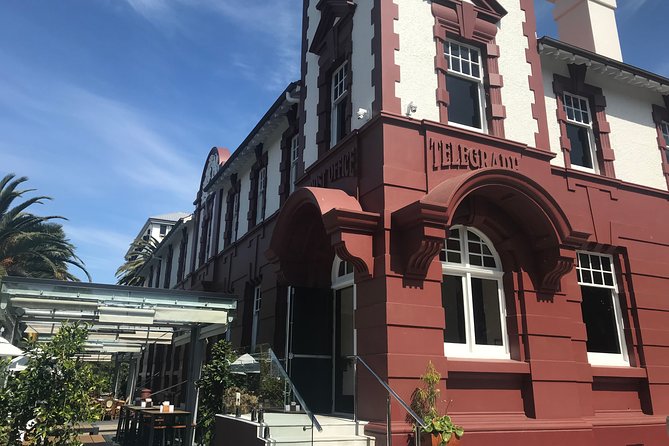
The tasting portion is the emotional payoff of the day. This tour gives you samples tied to New Zealand’s fruit and food culture, and it does so in a way that feels connected rather than like a gift-shop demo.
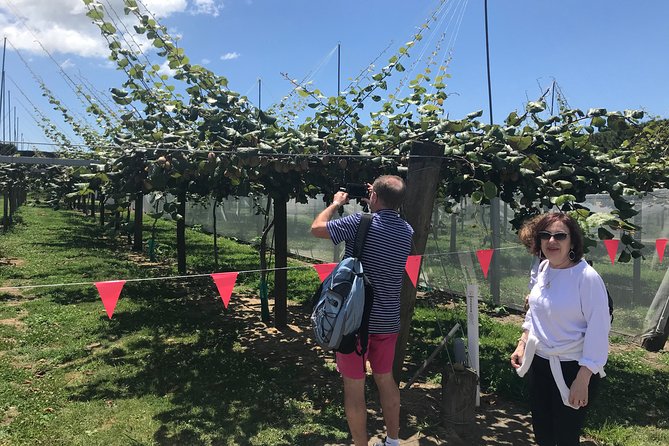
You’ll get tastings of kiwifruit, avocado, and locally sourced tea. The overview also references manuka honey as part of the local produce experience, along with kiwifruit and avocados, and that combination is exactly why this tour feels different from a basic city drive.
This is also where you should set expectations correctly:
- It is tasting, not fruit picking. Fruit picking is listed as not included.
- Servings are described by some as more of a sample than a meal. That’s normal for tours like this, but it matters if you expect a full snack out of it.
I like how it’s framed as a sample experience because you can taste without committing to a whole day at an orchard. For many people, that’s the sweet spot when you have limited time.
If you want more food beyond the included tastings, bring a light appetite strategy. Expect the schedule to include lunch options during the Minden Lookout break, and use that window if you want something more substantial.
The guide makes or breaks it, and here that’s a strong point
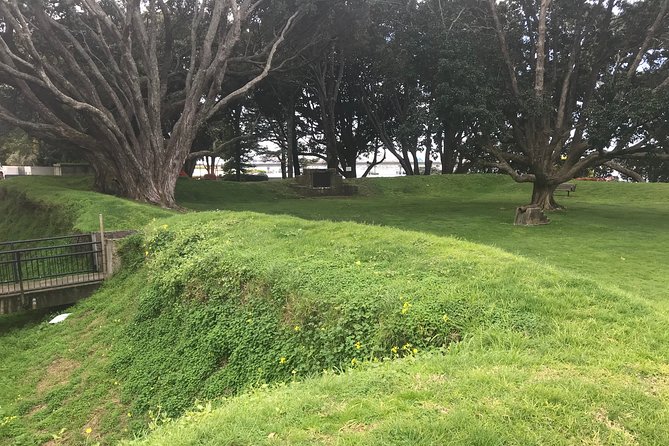
A theme in the feedback is that the guides are a major part of the experience. You’ll often see names like Russell, and there’s mention of Arwen being accommodating. Another guide that comes up is Emile, also described as friendly and good with local details.
What matters for you is not the name on the dashboard, it’s the way the guide works through the day:
- friendly, easy conversation
- live commentary that connects the geography to the story
- time for questions
- pacing that is described as safe and comfortable in the vehicle
People especially liked the guide’s historical storytelling and the way the orchard tasting is presented. That is the difference between seeing places and understanding them for about a day.
Also, because the tour is small, it’s easier to ask practical questions about the region and how everyday life fits around things like the port and local agriculture. If you like that kind of context, this will feel like good value.
Pacing, driving time, and the one tradeoff to plan for
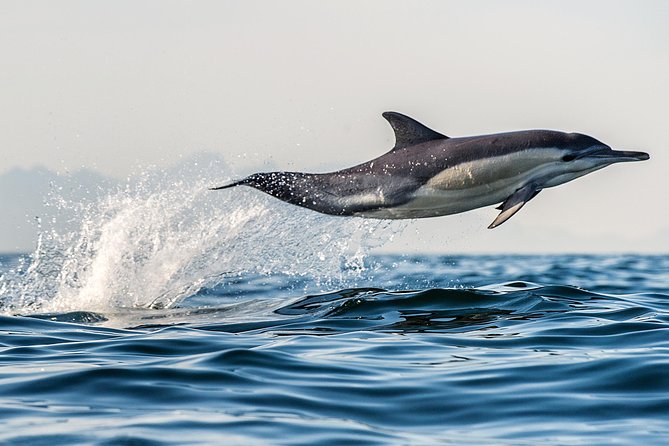
The biggest “watch-out” is also one of the reasons the itinerary works. Tauranga’s harbour and port area means routes often require driving around it to reach Mt Maunganui and then come back through Tauranga.
Some people found they spent more time in the car than they expected, and at least one comment pointed out that one of the scenic stops felt short compared with the overall 4-hour plan. There are also mentions of stops where you see parked containers and industrial elements, which may not be everyone’s favorite.
Here’s the balanced way to think about it:
- If you want a lot of walking and long beach stays, you might feel the schedule is tight.
- If you want efficient orientation, photo moments, and tastings, this loop is built for you.
The good news is that the tour isn’t positioned as a sprint. It’s more of a guided route with several “meaningful pauses,” including photo opportunities.
Price and value: is $65.78 worth a half day?
At $65.78 per person, the tour sits in a mid-range zone for a shore excursion. What helps justify it is what you actually get in one package:
- port pickup and drop-off
- air-conditioned transport
- a small group format (max 11)
- live commentary throughout
- included tastings of kiwifruit, avocado, and locally sourced tea
- an itinerary that covers Mt Maunganui, Tauranga, and a lookout area
If you tried to piece this together yourself, you’d likely pay for transport, pay for separate admissions or tastings, and still be guessing at what’s worth your time. This tour does the sorting for you, and you’re not dealing with parking or multiple meeting points.
The only time I’d hesitate is if you are mainly hunting for a long beach day or you expect tastings to function like a full meal. Set expectations, use the lunch break at the lookout, and you’ll feel the value more clearly.
Weather and timing: when to book and what to wear
This experience requires good weather. If conditions are poor, you’ll be offered a different date or receive a full refund. That matters because the tour includes outdoor viewpoints at Mt Maunganui and Minden Lookout.
Since there are several short stop-and-go moments, dress for changeable coastal conditions. Think layers, something light for warmth, and shoes that work on uneven or slightly slippery paths.
Season is listed as October to April, so if you’re traveling outside that window, this exact tour may not be offered.
Should you book this Tauranga shore excursion?
Book it if you want a well-paced half day that mixes coastline, harbour context, and a hands-on taste of local produce. The small group format and the guide quality make it feel more personal than the generic bus shuffle. It’s also a solid choice if you want a fast history-and-culture orientation without committing to a full day.
Skip it or choose a different format if:
- you strongly prefer minimal driving and maximum walking time
- you do not enjoy port or industrial scenery at all
- you expect the kiwifruit and avocado portion to be a full snack or meal
If you land in the middle, this tour is a practical, value-friendly way to understand Tauranga in a single route, then go enjoy the rest of your day knowing you’ve already seen the right anchors.
FAQ
How long is the Tauranga Shore Excursion, History & Kiwifruit Tasting?
The tour is about 4 hours.
What is included in the kiwifruit tasting portion?
You’ll get tastings of kiwifruit, avocado, and locally sourced tea.
Are fruit picking activities included?
No. Fruit picking is not included. You’ll only sample.
Does the tour include pickup and drop-off?
Yes. The tour includes port pickup and drop-off.
How many people are in the group?
The tour has a maximum of 11 travelers.
Where is the meeting point?
The start location is Port of Tauranga Ltd, 2 Salisbury Avenue, Mount Maunganui 3116, New Zealand.
Is the tour offered year-round?
It is offered in season, October to April.
What if the weather is bad?
The tour requires good weather. If it’s canceled due to poor weather, you’ll be offered a different date or a full refund.
Is this tour accessible for guests with mobility aids?
The tour has limited mobility aid accessibility. You should discuss your needs with the operator, and passengers must be able to embark and disembark with minimal assistance.
Is a mobile ticket used?
Yes. You’ll receive a mobile ticket.
What is the cancellation policy?
There is free cancellation. You can cancel up to 24 hours in advance for a full refund, based on local time. If you cancel less than 24 hours before, the amount paid is not refunded.
The Wider Tauranga Shortlist

Everything Else We Wrote Up in Tauranga

Around the Bay of Plenty
Just added to our Tauranga notes
- Hells Gate Geothermal, Mud & Sulphur Spa★ 4.0 · 7 reviews
- Tauranga: Mount Maunganui Hot Pools Experience★ 4.5 · 7 reviews
- Tauranga to Magical Hobbiton Movie Set – Private Shore Excursion★ 5.0 · 7 reviews
- Scenic Short Hike Tour – Papamoa Hills and McLaren Falls★ 5.0 · 7 reviews
- TAURANGA SHORE EXCURSION: V8 TRIKE – 1.5 hour City Sites★ 5.0 · 8 reviews
- Tauranga: Rotorua Redwoods Tour & Maori Village Experience★ 4.9 · 8 reviews
Tauranga and the Bay of Plenty, compared.
 ★ 5.0Kaituna Cascades – Grade 5 Wairoa River near TaurangaFrom $117437 reviews
 ★ 4.5Tauranga Shore Excursion: Rotorua HighlightsFrom $152427 reviews
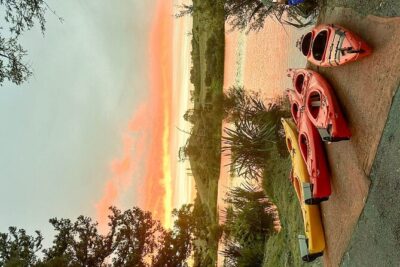 ★ 5.0Tauranga: Evening Glowworm Kayak Tour311 reviews
 ★ 5.015,000ft Tandem Skydive in Tauranga – Bay of PlentyFrom $332305 reviews
 ★ 4.56.5 hour Small-Group Rotorua Naturally Shore Excursion – TaurangaFrom $135283 reviews
 ★ 5.0Hobbiton Movie Set Shore Excursion from Tauranga (6 Hours)From $198267 reviews
 ★ 5.0Hobbiton Transport & Tauranga Highlights Excursion from TaurangaFrom $86219 reviews
★ 4.8Tauranga: Evening Glowworm Kayak TourFrom $134206 reviews
★ 5.0Hobbiton Transport & Tauranga Highlights Excursion from TaurangaFrom $86219 reviews
★ 4.8Tauranga: Evening Glowworm Kayak TourFrom $134206 reviews
Browse the lists this tour appears in