
REVIEW · AUCKLAND TOURS AND DAY TRIPS
Auckland: Full-Day City Tour
Auckland is best seen from up high. This full-day tour strings together classic viewpoints and neighborhood stops, so you get panoramic skyline moments and real local context in one day. I like the small private group vibe with a comfortable luxury vehicle, and you also get guidance that helps the city make sense fast. One watch-out: the museum stop costs extra, and food is not included.
I also like how the day mixes scenery and stories, from Mount Eden to Devonport, with guide-led time built into the schedule. In particular, guides like Shin and Israel were praised for making each location click with clear, place-by-place explanations, and one guide named Sung even adjusted the plan for a wheelchair. The only drawback is practical, not dramatic: if you are budgeting strictly, factor in the museum entry and meals.
If you want an efficient first taste of Auckland, this is the kind of day that helps you decide where to return later. The tour runs in English or Korean, and it is designed for groups that stay small, with a stated maximum of 5 people in operation. If you hate sitting in a vehicle between stops, you might find the pace a lot, since the route covers a lot of territory in 8 hours.
In This Review
- Quick hits before you go
- Why this Auckland full-day route makes sense for first-timers
- Mt Eden: the short walk that gives you the big picture
- One Tree Hill and Auckland Domain: viewpoints with breathing room
- Cornwall Park and the seasonal Parnell Garden twist
- Auckland Museum or the winter garden: culture time with an extra ticket
- Viaduct Harbor, Mission Bay lunch break, and the Harbour Bridge moment
- Devonport and the North Head area: coastal Auckland goes wider
- Small-group comfort and guide quality: what you should pay attention to
- Timing in an 8-hour day: how the stops add up
- Food, drinks, and what to pack for the day
- Price and value: is $209 per person fair for what you get?
- Who should book this Auckland tour, and who might skip it
- Should you book this Auckland full-day city tour?
- FAQ
- Where does the tour start and end?
- How long is the Auckland full-day city tour?
- How much does the tour cost?
- How many people are on the tour?
- What languages are the guides available in?
- What stops are included during the day?
- Is museum entry included in the price?
- Is lunch or food included?
- Are drinks allowed in the vehicle?
- What is the cancellation and payment flexibility?
Quick hits before you go
- Hilltop viewpoints on your schedule: Mount Eden walk time, plus One Tree Hill and Auckland Domain.
- Real city flavor, not just photos: waterfront and beach-side breaks at Mission Bay.
- Small-group pacing: limited to a tiny group, so you can ask questions.
- Harbor landmarks by road: Harbour Bridge scenic driving and close-by coastal areas.
- Museum is optional in cost, not in time: Auckland Museum (or the winter garden) is part of the plan, but entry is extra.
More ways to fill a day out of Auckland
- Hobbiton & Waitomo Caves Guided Day Trip from Auckland incl lunch
★ 5.0 · 2,677 reviews - From Auckland: Hobbiton & Waitomo Caves Day Trip with Lunch
★ 4.9 · 2,505 reviews - Auckland Dolphin and Whale Watching Eco-Safari Cruise
★ 4.5 · 1,790 reviews - Auckland: Hobbiton Movie Set Day Trip with Festive Lunch
★ 4.8 · 1,431 reviews
Why this Auckland full-day route makes sense for first-timers
Auckland can feel spread out, and a highlights day is really about reducing guesswork. This tour is built to take you from inland viewpoints to coastal neighborhoods, with stops timed so you can actually look and not just roll past signs.
I like that it is guided through the places that shape the city. Instead of leaving you to read plaques alone, you get a living explanation of what you are seeing and why it matters. That can be the difference between a checklist day and a day that helps you orient.
The small-group size matters too. When you are not packed into a big bus, you are more likely to get time for photos, short walks, and follow-up questions when something catches your eye.
Mt Eden: the short walk that gives you the big picture
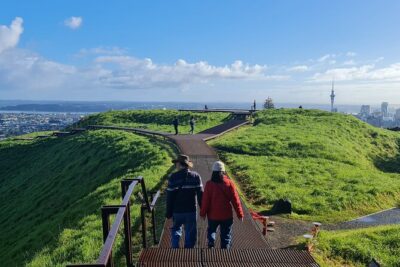
Mount Eden is where Auckland snaps into focus. You get a photo stop, guided time, and about 30 minutes to explore, including walking, so you can actually take in the view rather than only snap one quick picture.
What you should do with your time there is simple. Spend a few minutes looking across the city and then rotate your angle for the next photo, because the coastline and harbor shape show up best when you change perspective.
Also, note the walking portion. If you are wearing slippery shoes or you expect a fully flat surface, rethink it. This is a viewpoint stop with some foot movement, so comfortable footwear is worth it.
One Tree Hill and Auckland Domain: viewpoints with breathing room
After the first big hill view, the tour continues to another elevated stop at One Tree Hill. You get about 30 minutes here, which is perfect for stretching your legs and getting another angle of the city.
Then there is Auckland Domain for another 30 minutes. I like this pairing because it keeps the morning scenic and gives you a sense of how Auckland’s geography shapes daily life, from urban sprawl to the green spaces that interrupt it.
If your photos tend to look flat, these two stops help you fix that. You will have multiple vantage points, which means the skyline and the coastline will vary from shot to shot, even if you are photographing the same city.
Cornwall Park and the seasonal Parnell Garden twist
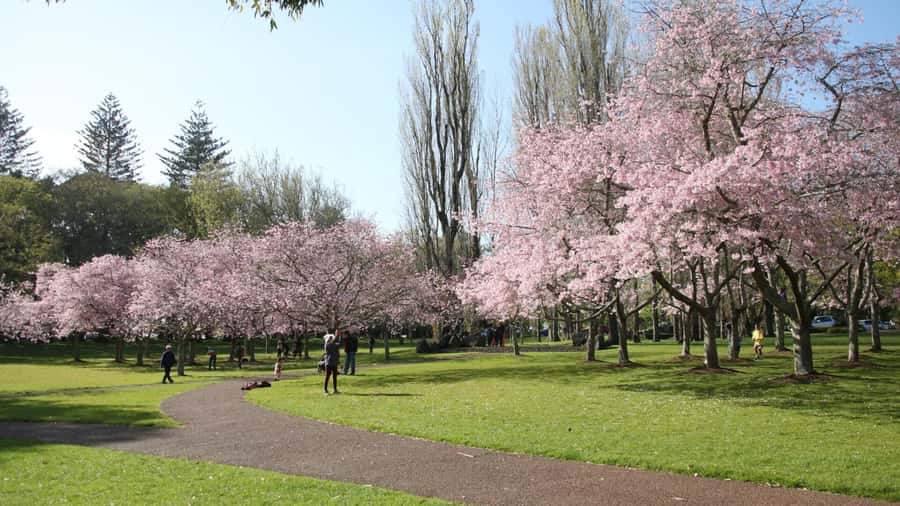
The tour’s highlights include Cornwall Park, and that fits the Auckland pattern of combining views with calm green space. You are not just driving through, you are getting a real visit moment, so you can slow down and enjoy the open feel.
One detail that can change with the seasons is a Parnell Garden stop. The day you go may include it, or it may not, but that is part of how Auckland’s spring, summer, fall, and winter schedule the garden experience.
How to handle this as a traveler is easy. If the garden stop is critical for you, be ready to treat the rest of the day as the main event, because the plan is flexible around seasonal availability.
More of Auckland on foot and by road



Auckland Museum or the winter garden: culture time with an extra ticket
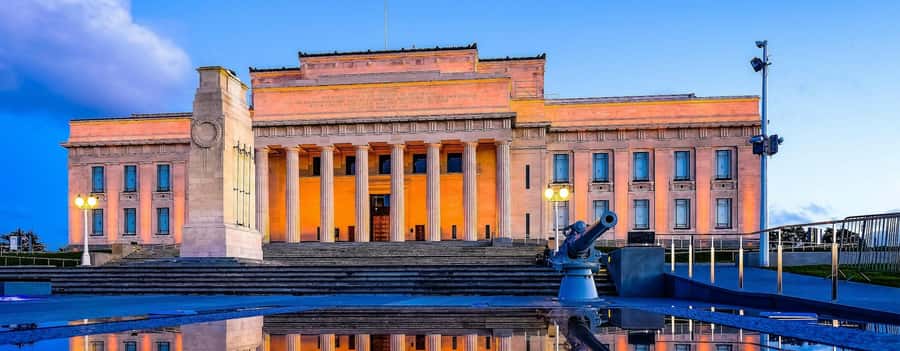
Auckland Museum or the winter garden is part of the day, and it is one of the few stops where you should plan your budget ahead. Museum entry is not included, with the cost listed as $28 NZD per person.
This is also a good stop to use your time wisely. If you want history, you may spend more time inside the museum spaces. If you just need a break from walking and want atmosphere, the winter garden option can be a calmer way to get out of the sun or rain.
I like that the tour includes at least one culture stop because it changes the day from scenery-only. Without it, a city tour can become repetitive. With it, you get a quick, guided sense of the country and the city’s place within it.
Viaduct Harbor, Mission Bay lunch break, and the Harbour Bridge moment
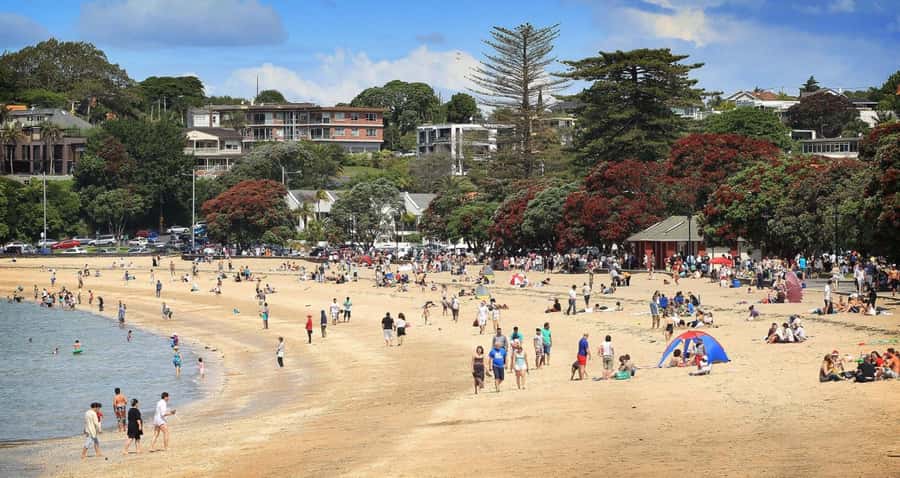
The route takes you through the central waterfront areas, including Viaduct Harbor and then out toward Mission Bay. You get a dedicated break at Mission Bay, about 1 hour, with lunch and free time.
This is one of the most practical parts of the itinerary. Rather than rushing through lunch, you get a real window to eat, wander a bit, and decide what kind of energy you want for the afternoon. Mission Bay is also a good spot to reset if you have been taking pictures nonstop.
Then you hit the Auckland Harbour Bridge area. The schedule lists a scenic drive and a short pass-by, about 10 minutes, so you get the landmark moment without turning the entire day into one traffic jam.
If you want a great photo of the bridge, use the street-level angle. A quick landmark pass is exactly when you should step out for 60 seconds, frame the shot, and get back in, so you do not lose the day’s flow.
Devonport and the North Head area: coastal Auckland goes wider
Devonport is your turnaround into a different side of Auckland. You get a photo stop and about 30 minutes for a guided visit and sightseeing here.
Paired with the North Head point that is included in the tour concept, this part of the day adds variety. Your morning was hills and city views. Your afternoon is a more coastal, outlook-driven Auckland, where the water and shore feel like part of the story.
One practical tip: treat Devonport as a photo-and-walk stop rather than a long exploration. You will have guided time, but it is still a limited window, so plan to prioritize what you want most, a scenic overlook, a walk for perspective, or just a calm moment by the harbor vibe.
Small-group comfort and guide quality: what you should pay attention to
This tour is described as a small private tour in a comfortable luxury vehicle, and it is capped very low, with a maximum of 5 people running. That low number is not a marketing detail. It usually changes the entire day, from the ease of hearing your guide to the speed of getting from stop to stop.
Guide quality is the real variable, and the reviews reflect that. Positive experiences highlighted guides like Shin, Sung, and Israel for stories that fit the places you were seeing. One less positive account mentioned difficulties with English clarity and very limited history explanation, which is a reminder that language fit matters.
If you are booking and you care a lot about history, I suggest you choose a guide language you feel comfortable with. The tour is available in English or Korean, so plan based on your comfort level. If English is your choice, and you want more depth, come ready with a couple of questions like what to focus on in each neighborhood stop.
Timing in an 8-hour day: how the stops add up
On paper, this tour looks structured, and in practice that is what helps you get results. The day starts with pickup from Auckland CBD, then you move through Mount Eden, One Tree Hill, and Auckland Domain, before Mission Bay and the harbor corridor.
Here is the time skeleton you can use to set expectations:
- Mount Eden: photo stop, guided visit, around 30 minutes including walking time
- One Tree Hill: about 30 minutes
- Auckland Domain: about 30 minutes
- Mission Bay: around 1 hour including lunch break and free time
- Harbour Bridge: about 10 minutes of scenic driving and pass-by
- Devonport: about 30 minutes for photo stop, guided tour, and sightseeing
Then you return to Auckland CBD.
Because the schedule is tight, you should not plan to use each stop like a standalone attraction day. The value is in moving between different parts of Auckland efficiently, with short guided time at each location.
Food, drinks, and what to pack for the day
Food and drinks are not included, so your best move is to treat lunch as your planned meal and bring snacks only if you prefer having backup options. Mission Bay includes lunch time in the break window, which is good, but you still need to pay for what you choose.
Also note the vehicle rules. Drinks in the vehicle are not allowed, and alcoholic drinks and drugs are not allowed in the vehicle. That means you should bring water for outside stops if you need it, but keep the vehicle rule in mind.
Packing-wise, think about comfort. You will do multiple viewpoints with some walking, so good shoes help. A light layer is smart too, since coastal areas can feel cooler depending on the day.
Price and value: is $209 per person fair for what you get?
At $209 per person for an 8-hour guided day, the value depends on what you want from Auckland. If you are trying to save time, avoid public transport connections, and get a guided story across several districts, this can be a solid deal.
What you are paying for includes pickup and drop-off in Auckland CBD and a small-group guided route in a comfortable vehicle. The plan also includes hotel as part of what is listed, so you likely get a door-to-door style service from your lodging area within the city.
What you do not get is built-in flexibility for museum and meals. The museum entry is not included, at $28 NZD per person, and food and drinks are on you. If you add the museum cost and plan to eat at Mission Bay, your total day becomes more than just the base price.
My take: it is worth it if you like having someone else manage the route and the talking. If you prefer to wander independently and spend a lot longer at fewer stops, you might get more satisfaction by choosing smaller, targeted activities.
Who should book this Auckland tour, and who might skip it
Book it if you are a first-timer who wants a fast orientation of Auckland’s geography. You will see hills, green spaces, waterfront neighborhoods, the harbor bridge area, and Devonport all in one day, with guided context at each stop.
You should also book if you want a low-stress group experience. With a maximum of 5 people running, it is the kind of tour where the guide can actually work with you rather than talking at a crowd.
Consider skipping if you have very limited mobility or if you hate vehicle time. This is a full-day loop, so even with frequent stops, the day includes driving between locations.
And if you care deeply about museum-level detail, budget extra time and money for the museum entry, since it costs separately.
Should you book this Auckland full-day city tour?
Yes, I would book it if you want a guided highlights loop that covers a lot of Auckland without making you plan. The hill views at Mount Eden and One Tree Hill, the Mission Bay break, and the Devonport coastal shift give you a well-rounded day.
I would double-check your budget first. The museum entry is extra, and meals are not included, so plan for that cost. If you are comfortable with those add-ons and you like the idea of a small-group guide telling you what you are seeing, this is a strong way to get your bearings in Auckland quickly.
If you want, tell me your travel dates and whether you prefer English or Korean. I can help you judge whether the day’s pacing and the museum add-on fit your style.
FAQ
Where does the tour start and end?
Pickup and drop-off are in Auckland CBD, so you start in the city center and return there at the end of the day.
How long is the Auckland full-day city tour?
The tour duration is 8 hours.
How much does the tour cost?
The price is listed as $209 per person.
How many people are on the tour?
It is described as small group limited to 6 participants, and it also states the tour will run with a maximum of 5 people.
What languages are the guides available in?
The live tour guide is available in English and Korean.
What stops are included during the day?
The tour includes visits and stops at Mount Eden, One Tree Hill, Auckland Domain, Mission Bay, the Harbour Bridge area (scenic drive and pass-by), Devonport, and the North Head point area. It also references Auckland Museum or the winter garden and Cornwall Park, and a Parnell Garden visit depending on the season.
Is museum entry included in the price?
No. Auckland Museum entrance is not included, and the listed cost is $28 NZD per person.
Is lunch or food included?
Food and drinks are not included. There is a lunch break during the Mission Bay stop.
Are drinks allowed in the vehicle?
No, drinks are not allowed in the vehicle.
What is the cancellation and payment flexibility?
Free cancellation is available up to 24 hours in advance for a full refund, and you can reserve now and pay later.
The Wider Auckland Shortlist


Everything Else We Wrote Up in Auckland



Auckland, More Days Out
Just added to our Auckland notes
- Rotorua to Auckland – Afternoon Transfer with Waitomo Caves★ 4.9 · 6 reviews
- Auckland Nature Tour★ 5.0 · 6 reviews
- Auckland: GoGuided Auckland City Tour★ 4.5 · 6 reviews
- Auckland: Full-Day City Tour★ 4.6 · 6 reviews
- Auckland: Half-Day Sea Kayak Tour to Motukorea Island★ 5.0 · 6 reviews
- Private Tour – Hobbiton Movie Set & Te Puia (Rotorua)★ 5.0 · 7 reviews
Auckland Tours and Day Trips, compared.
 ★ 5.0Hobbiton & Waitomo Caves Guided Day Trip from Auckland incl lunchFrom $2292,677 reviews
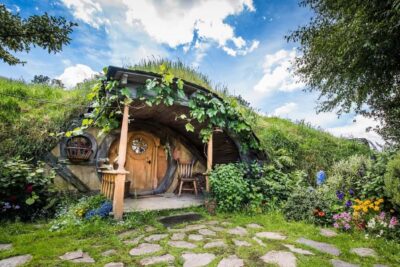 ★ 4.9From Auckland: Hobbiton & Waitomo Caves Day Trip with LunchFrom $2212,505 reviews
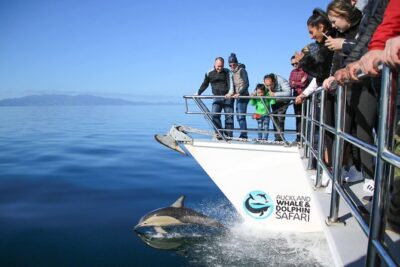 ★ 4.5Auckland Dolphin and Whale Watching Eco-Safari CruiseFrom $1351,790 reviews
 ★ 4.8Auckland: Hobbiton Movie Set Day Trip with Festive LunchFrom $1821,431 reviews
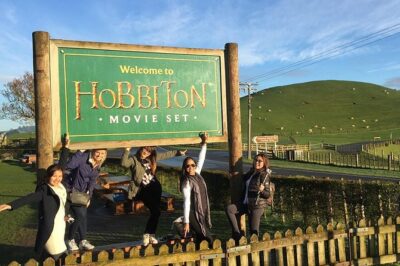 ★ 5.0Hobbiton Movie Set Small Group Tour from AucklandFrom $1831,380 reviews
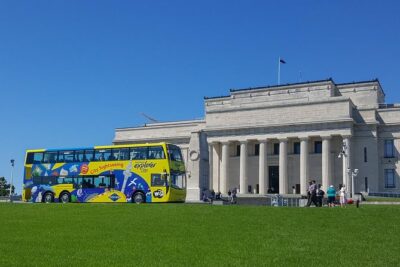 ★ 4.0Auckland Explorer: Sightseeing Hop-on Hop-off TourFrom $431,180 reviews
 ★ 5.0Hobbiton & Waitomo Caves Small-Group Tour W Lunch from AucklandFrom $2351,117 reviews
 ★ 5.0Half-day Discover Auckland City Sightseeing TourFrom $461,080 reviews
Browse the lists this tour appears in