
REVIEW · WANAKA AND CARDRONA
Wanaka: 4-Hour Intermediate Waterfall Cable Climb
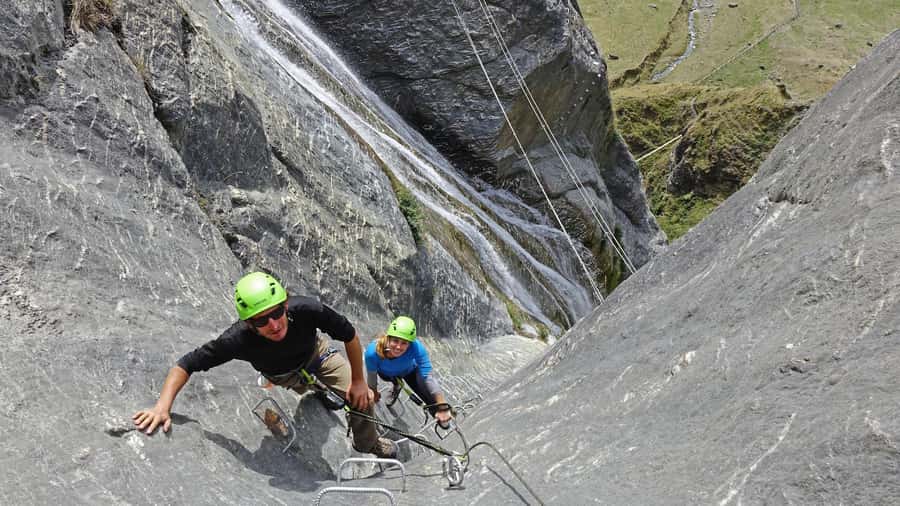
Waterfall walls made me grin, fast. At Lake Wanaka, this guided 320m waterfall cable climb is one of the rare activities where you get real vertical climbing and big scenery at the same time. You do it on an intermediate route built for people with moderate fitness, with the reassurance of an expert guide and tight group sizes.
What I love most is the way it starts with a real practice climb, not a vague briefing. You learn the system at the base of Twin Falls before you commit to the full route of cables, iron rungs, pegs, ladders, and suspension bridges, so you feel in control instead of guessing.
One thing to consider: this is exposed work. You must keep hooking into the system correctly at all times, and if heights or panic hit hard, the suspension crossings may feel too intense. The activity also has clear limits on age, weight, and mobility, so check those before you book.
In This Review
- Key highlights that make this Wanaka climb worth it
- Why Wanaka’s waterfall cable climb feels different from other climbs
- Getting started at Twin Falls: helmets, harnesses, and a practice route
- The intermediate route: climbing 320m with cables, rungs, bridges, and ladders
- Bridges and heights: what the suspension crossings really demand
- Summit views and lunch by a 60m waterfall (plus a quick dip)
- Descent timing and how to wear the right gear
- Price and value for a 4-hour guided Wanaka adventure
- Who this is best for, and who should skip it
- Booking tips: meeting point at the Twin Falls gate and camera strategy
- Should you book the 4-hour intermediate waterfall cable climb at Lake Wanaka?
Key highlights that make this Wanaka climb worth it
- The world’s highest waterfall cable climb experience, built around real climbing gear and guided technique
- Small groups (max 5 per guide), which makes feedback quick and safety smoother
- Practice climb at Twin Falls, so you get comfortable with the system before the intermediate route
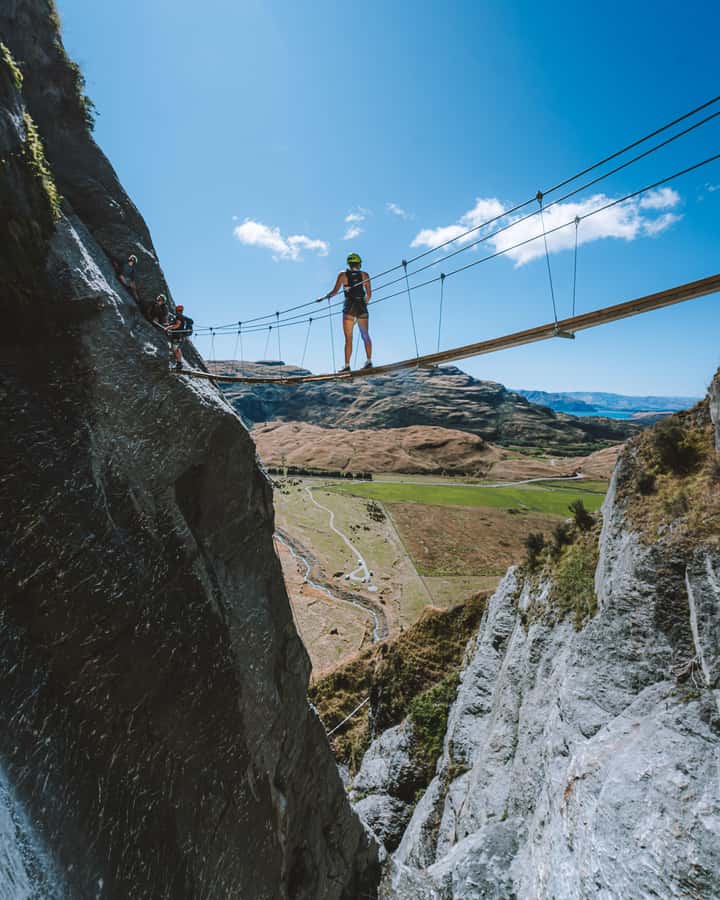
- Suspension bridges over blue pools, plus a bridge photo stop next to a huge cascading waterfall
- Lunch at the base of a 60m waterfall, with time to cool off or just take in the views
- A 45-minute descent back to the start, after about 4 hours total out on the route
Wanaka and the Cardrona valley, continued
- Wildwire Wanaka- Level 2 (4 Hours)
★ 5.0 · 467 reviews - Bike the Wanaka and Hawea Trails
★ 5.0 · 346 reviews - Lake Wanaka Happy Hour Cruise
★ 4.6 · 313 reviews - Small Group Jet Boat Adventure on the Clutha River from Wanaka
★ 5.0 · 302 reviews
Why Wanaka’s waterfall cable climb feels different from other climbs
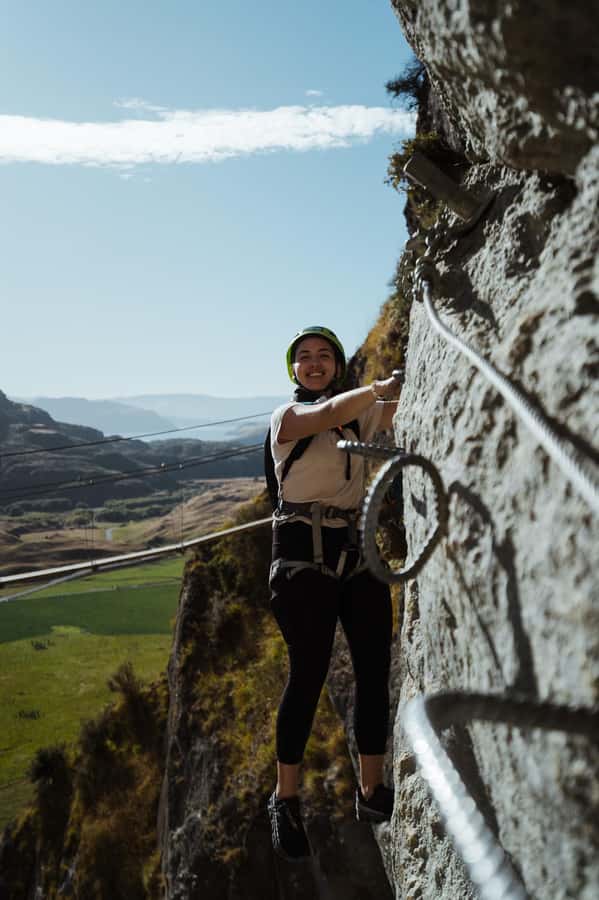
This is not a “look at the waterfall from a safe viewpoint” day. You’re climbing alongside waterfalls, using fixed cables and metal rungs, then crossing suspension bridges while the water and rock are literally next to you. The payoff is that your effort and the scenery happen together, up close.
At Lake Wanaka, you also get mountains, farmland, and lake views that change as you climb. It helps that the route is designed for an intermediate level, so you get the thrill without needing prior climbing experience. You still get a challenge, though. This is vertical climbing, not a casual walk.
And because you’re with a guide, you’re not trying to figure out the route on your own. Guides are there to keep you safe, explain what you’re doing, and help you move efficiently.
Getting started at Twin Falls: helmets, harnesses, and a practice route
The day begins at Twin Falls Waterfall. You meet at a locked farm gate with the activity provider’s sign, after you drive west from Wanaka town along the Wanaka-Mt Aspiring Road. There’s typically a cattle stop point about 20 minutes in, then you pull out immediately to the left in front of two waterfalls.
Once you’re at the gate, the first phase is all about comfort and safety. You’ll get helmets and harnesses, and you’ll do a safety briefing before anything vertical happens. Then the group practices at the base of the waterfall.
That practice climb matters. It’s your chance to learn how to use the system, how to move between rungs, and how to feel stable before you go higher and more exposed. In past experiences, guides like Ollie, Sarah, and Ryan have been praised for being patient and encouraging, which matches what you want during the first “real” meters.
Tip: If you’re bringing a camera or GoPro, plan how you will carry it. Guides sometimes take photos and email them afterward, but if you want your own shots, bring a way to keep it secure.
The intermediate route: climbing 320m with cables, rungs, bridges, and ladders
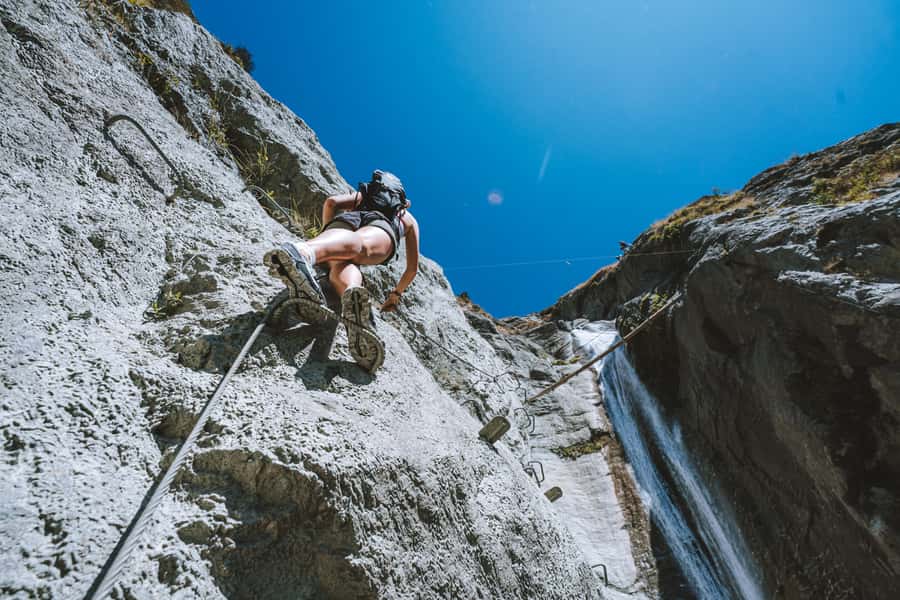
The intermediate climb is built around a route that takes you up about 320m. Expect a combination of techniques: cable systems, iron rungs, pegs, bridges, and ladders. You’ll also cross areas that include blue pools and climb alongside cascading water.
As you go up, you’re not just climbing a straight wall. The route is paced with stops where you can look around, get your bearings, and take quick photos. There’s also a specific moment built for photos, a bridge next to a huge cascading waterfall, where you can stop and capture the scale of it.
You’ll also see hidden pools and smaller waterfalls as you ascend. That’s one of the sneaky great parts of this activity. Even when you’re focused on your steps and clip-in checks, the scenery keeps giving you something new.
How long does it feel? About 4 hours total, including training, the main climb, lunch, and the descent. The route is active, but the guides help you move at a pace that fits your comfort level.
Bridges and heights: what the suspension crossings really demand
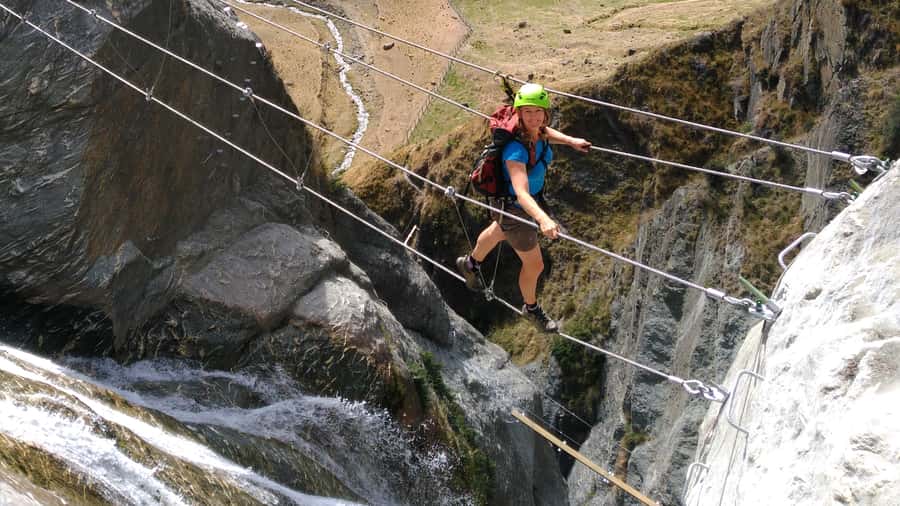
The suspension bridges are the part most people remember. You’re crossing over water, and you’re exposed to open air on both sides. Reviews consistently point out that the experience is thrilling but also kept safe by instruction and supervision.
The key detail for your mindset: you have to stay disciplined. You are responsible for keeping yourself correctly hooked into the climbing system all the time. That means you can’t treat this like a “hold the rail and hope” situation.
If you get shaky with heights, take that seriously. One rider advice was clear: if you can’t regulate your reaction around exposure, this may not be for you. You might still enjoy the route if you can stay calm, but you need to be honest with yourself about fear management.
Also, this is one of those activities where small group size helps. With up to 5 people per guide, it’s easier for your guide to notice tension, adjust your positioning, and coach you through the trickier crossing moments.
Summit views and lunch by a 60m waterfall (plus a quick dip)
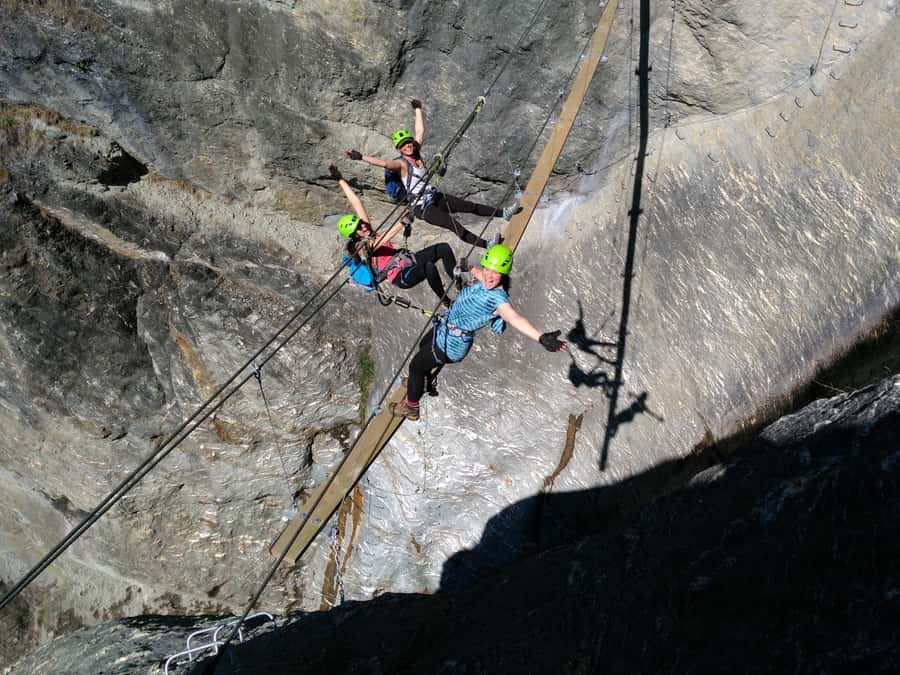
When you reach the top, you don’t rush straight back down. You relax at the base of a 60m waterfall for lunch. It’s included, and the food is a big part of the overall value here, since it breaks up the physical effort with proper recovery.
This is where the scenery becomes less about “what can I see right now” and more about “wow, that’s Wanaka.” You’ll look out over mountains and farmland around the lake. If weather is clear, it’s the kind of view that makes you forget your aching calves for a moment.
You can also do a quick swim, if you want. Even if you just watch others cool off, being near moving water after climbing beside it feels right. There’s also a storage area at the base for items you don’t need during the climb.
What to bring for lunch and downtime:
- Weather-appropriate layers, because Wanaka conditions can shift
- Swimwear, if you plan to take a quick dip
- Any camera you want for the waterfall and bridge moments
- Sunscreen, if it’s bright and calm
Descent timing and how to wear the right gear
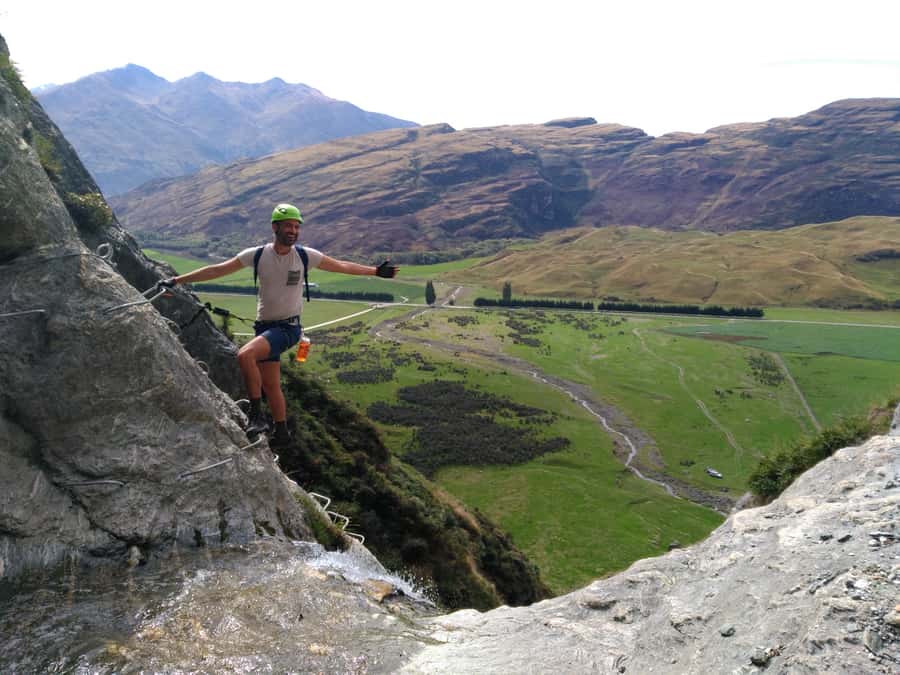
After lunch, you start the descent down to the starting point, about 45 minutes. The descent is not “just walking.” Your feet and attention still matter, and your legs will feel it after the vertical climb.
Shoes matter a lot. Wear comfortable shoes that work well on uneven surfaces. If you have hiking shoes, those are ideal. Avoid brand new shoes that haven’t broken in, since the day is long and your footing depends on confidence.
Clothing is a balancing act:
- You want something you can move in, because you’re climbing and stepping into varied positions
- You should dress for weather, meaning you might need a layer even if it’s sunny at the start
- Bring outdoor clothing, not fashion pieces
One practical note: water is not included. Bring a water bottle even though it’s a short note in the details. Staying hydrated helps your energy stay steady for the bridge and the climb, and it makes the descent feel less dramatic.
Price and value for a 4-hour guided Wanaka adventure
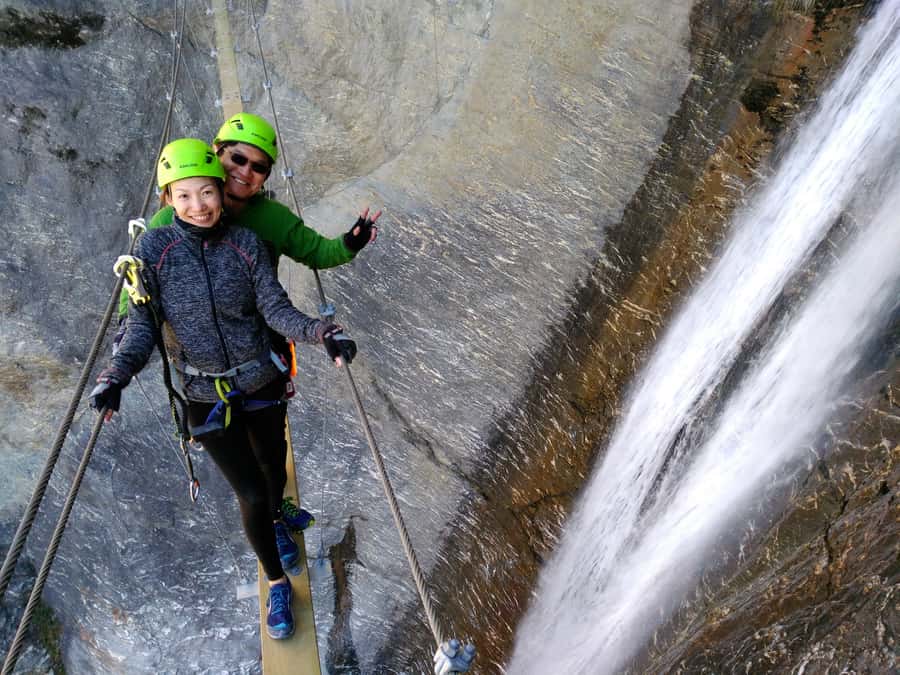
At $224 per person for a 4-hour activity, this is not the cheapest thing in Wanaka. But it is also not a DIY option.
You’re paying for a full safety setup and staff time:
- Expert guide
- Safety equipment and briefing (helmets, harnesses, and the system)
- Introductory training climb
- Lunch
That package matters because a waterfall cable climb is not something you casually wing. Guides handle safety checks, coaching, and pacing, especially on the sections that require focus like suspension bridges and continuous clip-in work.
You also get the value of small group size, max 5 per guide. That usually means better communication, faster feedback, and less crowding when you stop for photos or when someone needs a moment to reset their confidence.
Transport is also listed as highly rated, with 95% of reviewers giving it a perfect score. Even though transport details aren’t fully spelled out here, it’s a sign that the logistics are treated seriously, which helps when you’re arriving in a place that is not always obvious to find.
Who this is best for, and who should skip it
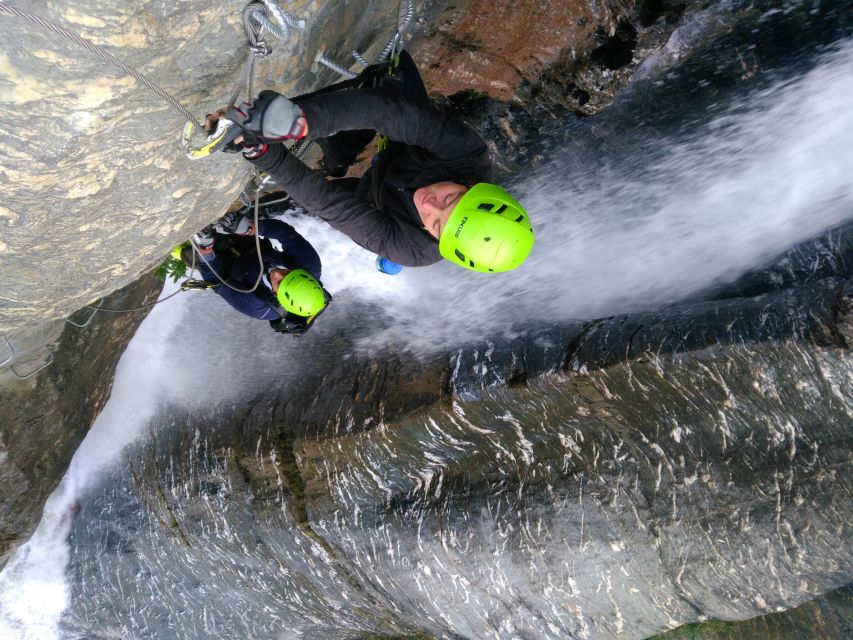
This is labeled intermediate, and that’s accurate. You don’t need climbing experience, and guides will help you. But you do need moderate fitness and full body mobility.
This is suitable if you:
- Want a guided via ferrata style experience in a waterfall setting
- Can move freely and comfortably with a harness on
- Are okay with heights and exposed sections, as long as you can stay calm
It is not suitable for:
- Children under 10
- Pregnant women
- People under 88 lbs (40 kg)
So if you’re planning a family day, this likely works for older teens and adults more than younger kids. One review praised how guides explained the steps to a 13-year-old, and it also included people from 17 to 45, which fits the idea that age is less important than mobility and comfort.
If you’re older, it can still be a real option. One older couple specifically said there was no issue climbing, as long as the day matches your physical readiness.
Booking tips: meeting point at the Twin Falls gate and camera strategy
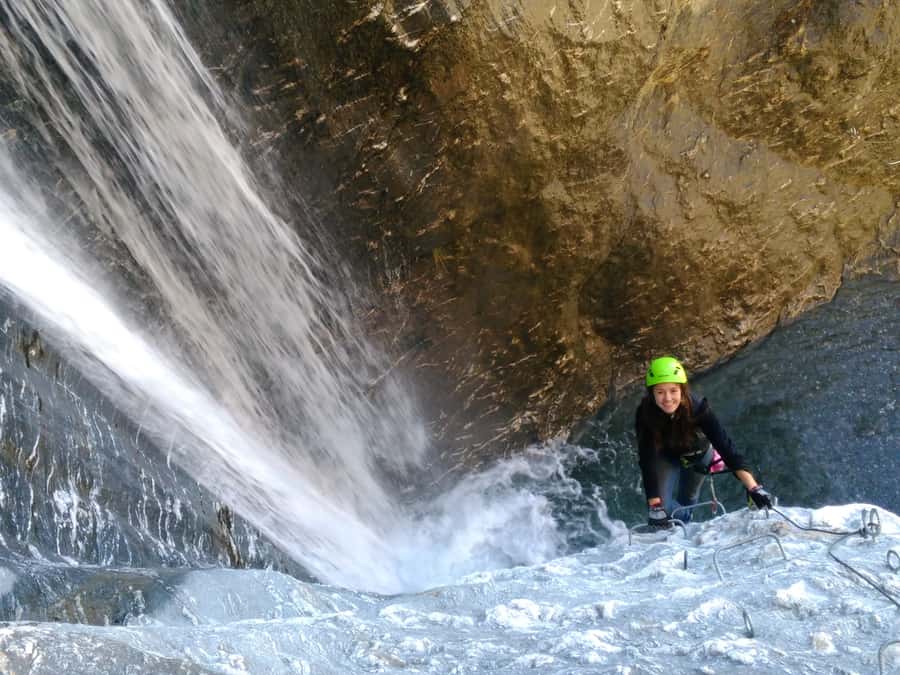
Before you go, take the meeting point instructions seriously. From Wanaka town, follow the Wanaka-Mt Aspiring Road west along the lake. After about 20 minutes, look for the cattle stop. Pull out immediately left in front of two waterfalls. You should see a locked farm gate with the activity provider’s sign. If you reach the ski field road or a gravel road, you’ve gone too far.
Arrive early enough that you’re not rushing into the safety briefing. Once you’re geared up, the day moves.
Camera strategy:
- Bring a camera at your own risk
- If you have a GoPro, it’s recommended to attach it to your person
- Guides may take photos and email them afterward, so you can also plan to rely on that for some shots
Finally, pack like you’re doing a mix of hiking and climbing. You want shoes that grip, layers for weather, and swimwear if you want that quick dip after lunch.
Should you book the 4-hour intermediate waterfall cable climb at Lake Wanaka?
Book it if you want a real adventure that mixes vertical effort, adrenaline from suspension bridges, and a reward of lunch by a 60m waterfall. If you’re curious about via ferrata style climbing but don’t have experience, the practice climb and expert guides give you a structured path to feeling safe.
Skip it if heights push you into panic or you can’t reliably keep your focus and clip-in discipline. Also skip if you don’t meet the mobility, age, and weight limits.
If you do go, bring water, wear solid footwear, and treat the first practice route as your warm-up to confidence. That’s the difference between “scared at the start” and “okay, I’ve got this.”
Everything Else We Wrote Up in Wanaka

Wanaka and the Cardrona Valley
Just added to our Wanaka notes
- Wanaka Easy Ebike Tour★ 5.0 · 7 reviews
- From Wanaka: Milford Sound Flight with Landing & Glaciers★ 4.4 · 7 reviews
- Rob Roy Glacier Guided Walk★ 5.0 · 8 reviews
- Wānaka: Scenic Helicopter Flight Wānaka Max★ 5.0 · 11 reviews
- Lake Wānaka: 3 hour Fishing Adventure by Boat★ 5.0 · 12 reviews
- 3 Hour in Wanaka Fishing Charters★ 5.0 · 14 reviews
Wanaka and Cardrona, compared.
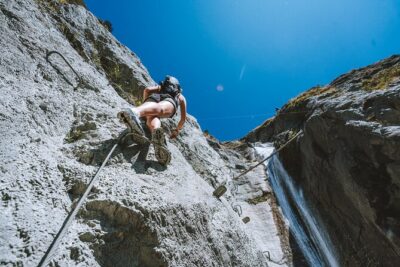 ★ 5.0Wildwire Wanaka- Level 2 (4 Hours)From $232467 reviews
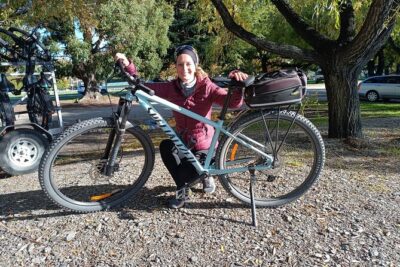 ★ 5.0Bike the Wanaka and Hawea TrailsFrom $80346 reviews
 ★ 4.6Lake Wanaka Happy Hour CruiseFrom $38313 reviews
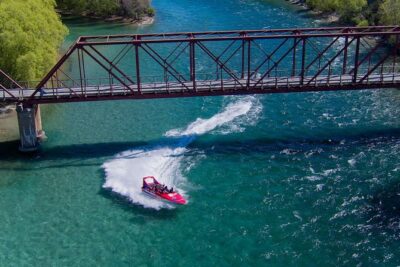 ★ 5.0Small Group Jet Boat Adventure on the Clutha River from WanakaFrom $98302 reviews
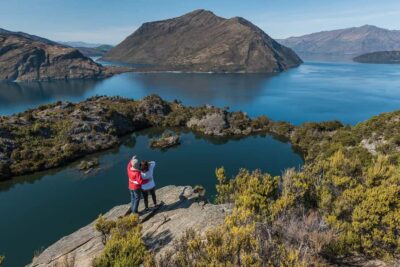 ★ 4.8Wanaka: Water Taxi & Mou Waho Island TourFrom $83299 reviews
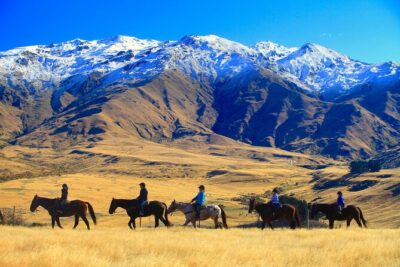 ★ 5.0Cardrona High Country Pub Trail Horse Riding Trek (Intermediate+)From $365261 reviews
 ★ 5.0Jet Boat and Wilderness Walk Tour from WanakaFrom $215259 reviews
 ★ 5.0Arrowtown and Wanaka Highlights Tour from QueenstownFrom $129252 reviews
Browse the lists this tour appears in