
REVIEW · WEST COAST AND ARTHURS PASS
Auckland: Wild West Coast, Black Sand Beaches Tour inc Lunch
Black sand and gannets beat any Auckland coffee run. This half-day style Muriwai Beach outing pairs big coastal drama with a chance to see the largest mainland gannet colony in the North Island, all with a guided run along the North Shore.
I also like how the day stays practical. You get a proper sit-down meal at Hallertau Brewery with a set menu, then you’re back on the road for viewpoints around Devonport and North Head.
One consideration: gannet numbers vary by season, and you’ll do a hill walk over uneven ground, so come with comfortable shoes and a weather-ready layer.
In This Review
- Key takeaways
- The big idea: trading city time for wild coast time
- Meeting at Sky Tower, then straight onto the North Shore
- Hallertau Brewery lunch: included set menu, plus optional beer
- Muriwai black sand: where the coast looks dramatic for real
- The gannet colony hill walk: close to the biggest mainland show
- Devonport: the seaside break after the wild coast
- North Head volcanic cone: views plus military tunnel history
- Harbour crossing on the way back: ferry option or guided drive
- Price and value: why $104 feels fair for what you get
- What to bring, and what might slow you down
- Who this tour suits best, and who should choose another option
- Should you book it? My decision guide
- FAQ
- How long is the Auckland Wild West Coast and black sand beaches tour?
- Where do I meet the group?
- What is included in the tour price?
- Is entry to Sky Tower included?
- Is craft beer tasting included?
- What should I expect at Muriwai Beach and the gannet colony?
- How do we return to Auckland after Devonport?
- Is the tour suitable for wheelchair users or mobility impairments?
Key takeaways
- Muriwai Beach black sand feels raw and powerful, not postcard-perfect
- Gannet viewing from a hill path, with numbers that change through the year
- Hallertau Brewery lunch is included, and there’s an optional craft beer tasting after
- North Head viewpoints cover sweeping Hauraki Gulf views plus coastal defense tunnels
- Small group pacing keeps stops friendly and gives you time for photos
The big idea: trading city time for wild coast time
Auckland can feel built around quick drives, quick stops, and a lot of traffic lights. This tour shifts the focus away from the city core and into the west coast, where the coast looks tougher and the wind has opinions. You’ll cross the harbour early, then spend the afternoon looking out instead of at your phone.
The real value is that you’re not just dropped at sights. The guide keeps the day moving with context, and you get time at each place so you can actually look, walk a little, and take photos that don’t feel rushed.
Meeting at Sky Tower, then straight onto the North Shore
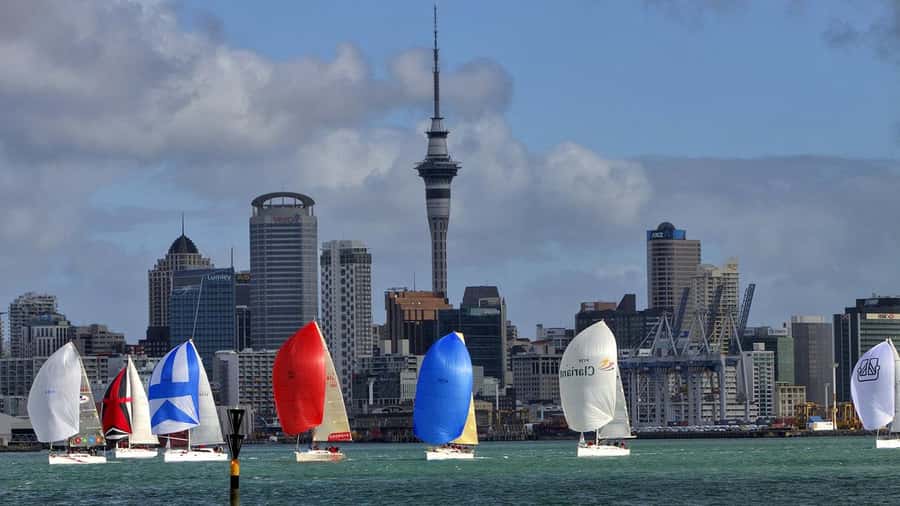
You start at Sky Tower, meeting at the corner of Victoria and Federal Streets. From there, you’re on a coach with a guided, sightseeing-style ride that includes a harbour crossing and then west toward the North Shore places like Coatesville, Kumeu, and Riverhead.
This first leg matters more than you might think. It’s the moment where you get your bearings for the rest of the day, plus you’ll hear stories about what you’re passing. If you like learning while you travel, this part sets a tone that makes the later stops feel connected, not random.
Hallertau Brewery lunch: included set menu, plus optional beer
After the drive, you arrive at Hallertau Brewery. Lunch is included as a set menu, and you’ll also have scenic views on the way there, so your meal doesn’t feel like a stop thrown in for convenience.
I like included lunch because it removes a big decision point. You’re not guessing where to eat on short notice, and you’re not scrambling for timing while others go hungry. A set menu also helps keep the group moving at a comfortable pace.
If craft beer is your thing, there’s an optional tasting available after lunch for an additional cost. You can skip it and still enjoy the meal and the rest of the day, or you can add it if you want a slower, more relaxed stretch before heading to Muriwai.
Muriwai black sand: where the coast looks dramatic for real
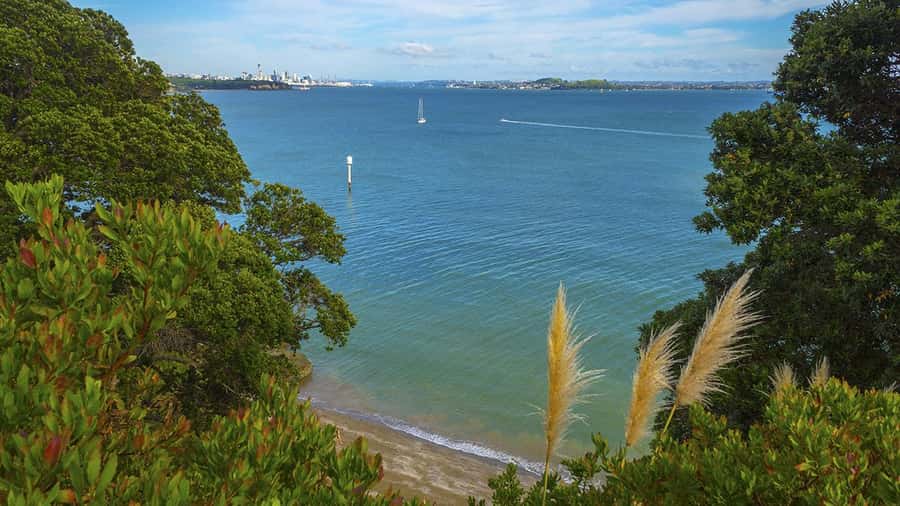
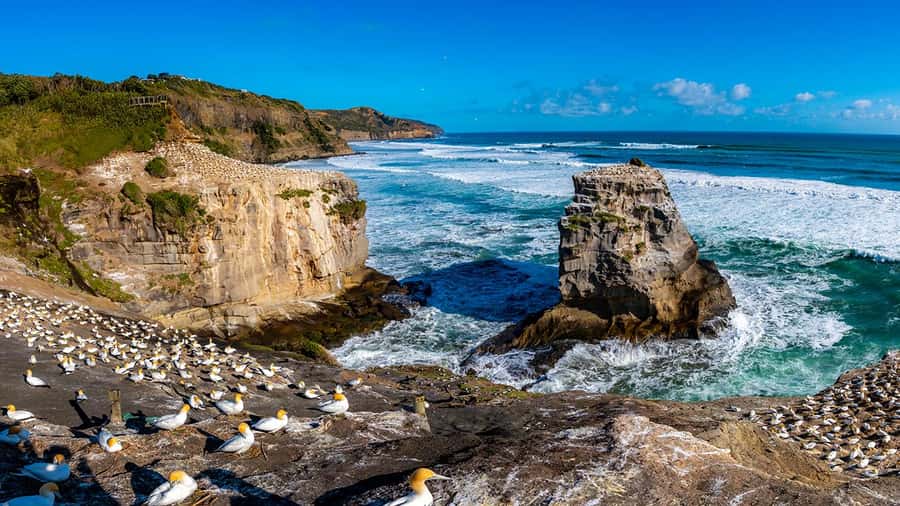
Then comes the west coast. You drive to the black sand beaches at Muriwai and get time for photos and exploration. The black sand isn’t a gimmick here, it’s part of the rugged feel of the coast, with wind, waves, and that sense of being very small next to the ocean.
You’ll want practical gear for this stop. Comfortable shoes matter because you’re walking around the coast area, and a camera is helpful because the lighting can change fast. Also, pack sunscreen and water, and bring a jacket, since Muriwai is often cooler and breezier than central Auckland.
The tour guide makes a difference on stops like this. In the past, guides such as Michael have been praised for being highly informative and for answering questions along the way in a way that keeps things enjoyable, not like a lecture. On a windy beach, that kind of calm helps.
The gannet colony hill walk: close to the biggest mainland show
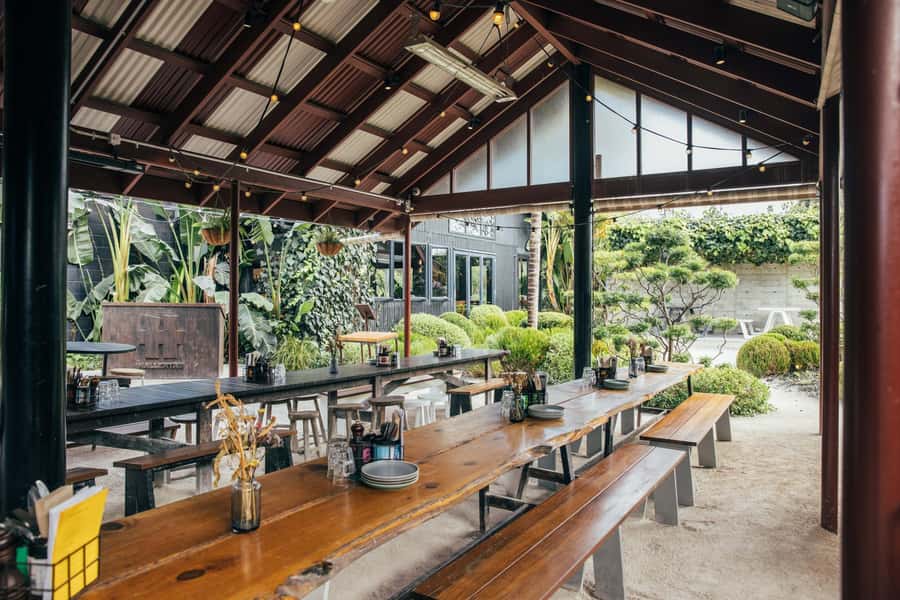
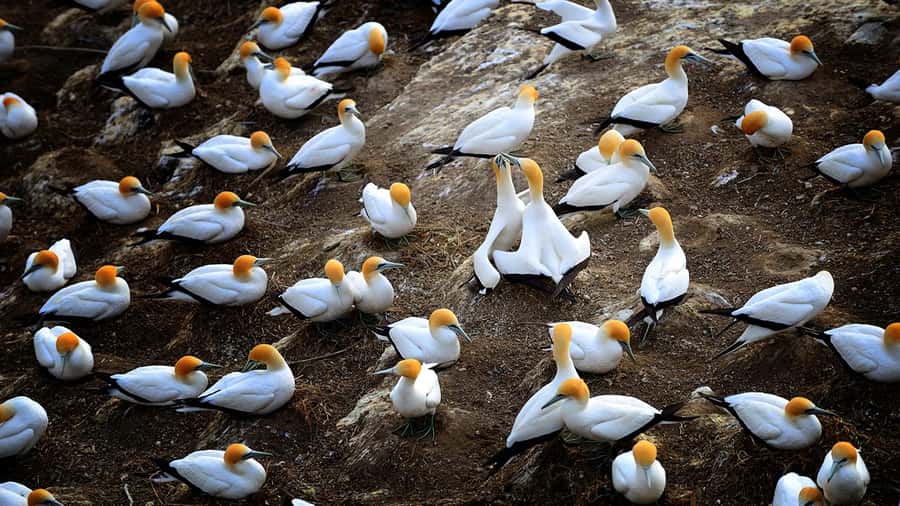
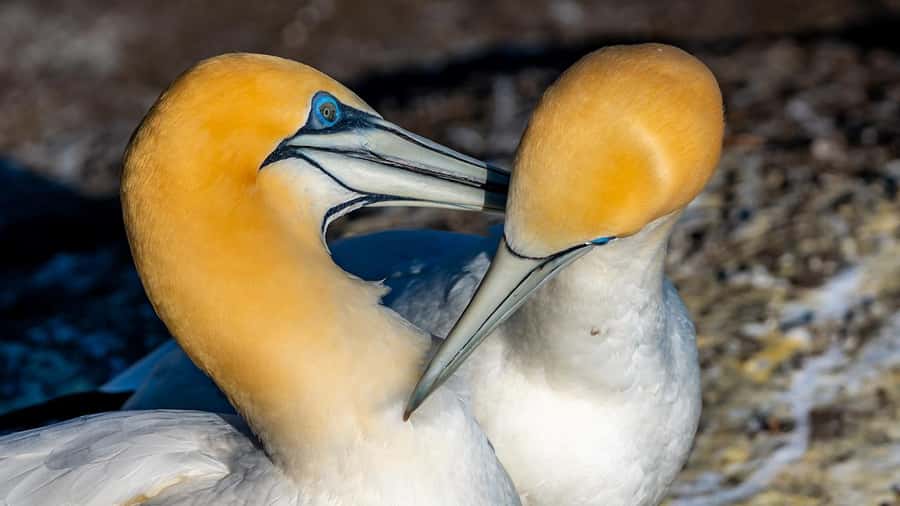
From the beach, you’ll walk up the hill to see the gannet colony, which is the largest mainland gannet colony in the North Island. This is the moment most people remember because you’re not just watching from a distance, you’re positioned to take in the scale and the bird activity.
A quick heads-up: bird numbers vary depending on the time of year. That means your experience could feel quiet and focused on a smaller group, or busier with more birds. Either way, the setting is the draw, and you’re seeing one of the coast’s main characters.
This stop is also where your footwear choice shows. There’s uneven ground, and one guide, Ben, has been noted for helping people across rougher spots so everyone could keep up safely. If you’re steady on your feet, you’ll enjoy it more; if you’re not, take your time and plan to slow down for the hill.
Devonport: the seaside break after the wild coast
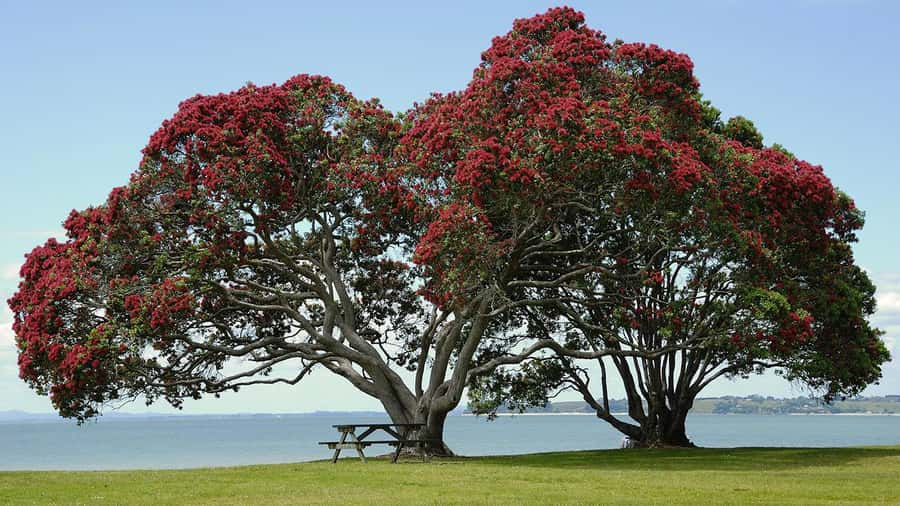
After the Muriwai area, you head back across the harbour and toward Devonport, a charming seaside suburb. This part of the day shifts the mood slightly. You go from raw coast power to a more classic harbour town vibe, which feels like a breather after wind and black sand.
You’ll have guided sightseeing here, plus time to take in the atmosphere. If you like walking along waterfront areas, Devonport is a good place to do a few minutes of that, even if you keep it light because you’ve already had active time at Muriwai.
North Head volcanic cone: views plus military tunnel history
Next up is North Head, reached by scenic drive. North Head is a historic volcanic cone with sweeping views over the Hauraki Gulf and the Auckland skyline. On a clear day, this is where the harbour and city feel like one connected system instead of separate pieces.
You’ll also learn about military tunnels and the coastal defense history connected to this vantage point. That mix is useful. It keeps the stop from being purely scenic, and it helps you understand why people built fortifications in a place with such strong sightlines.
You’re not stuck only looking. The tour gives you guided sightseeing here too, so you’ll come away with a sense of why North Head matters, not just what it looks like.
Harbour crossing on the way back: ferry option or guided drive
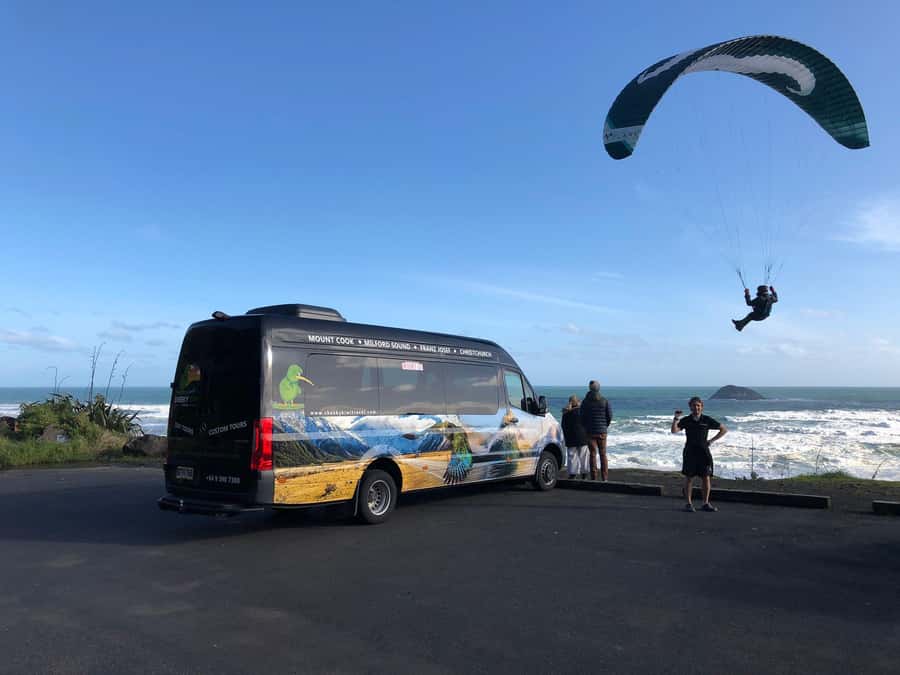
To wrap the day, you return to Auckland. You can choose the scenic ferry ride back across the harbour from Devonport to the city, or you can take a fully guided drive with drop-offs at central locations and hotels.
This is a nice flexibility point because it lets you match your energy level. If you feel like stretching your legs with a view, the ferry option fits. If you prefer not to think about timing and prefer straight back to your base, the guided drive is easier.
Price and value: why $104 feels fair for what you get
At about $104 per person for a 5 hour experience, the price works out best if you value guided structure. You’re paying for transport, a live English-speaking guide, small group touring, lunch, and park entry fees.
Included lunch is a big part of the value. You avoid the cost and decision fatigue of finding a meal mid-day, and you still get time afterward to enjoy the rest of the coast and viewpoints without rushing to eat.
The optional craft beer tasting is extra, so you can control your spending. That’s a smart approach because the day remains complete without it, and it lets beer lovers add a little extra after lunch if they want.
Also, the small group size tends to make a difference at stops. It helps you move between viewpoints with less waiting, and it makes questions easier to answer. That’s exactly the kind of service guides like Michael and Ben have been praised for, particularly for being friendly and responsive.
What to bring, and what might slow you down
You’ll enjoy this tour more if you show up ready for coastal weather. Bring comfortable shoes for hill walking and uneven ground, plus a camera, sunscreen, water, and weather-appropriate clothing. A jacket is a must, since Muriwai often runs cooler and breezier than the city.
The tour is fully guided and includes set stops, so you should also plan to follow the guide on timing and meeting points. This is not a choose-your-own-adventure day, and that’s part of the appeal.
One more practical note: smoking is not allowed in the vehicle, and drinks are not allowed in the vehicle. If you need water refills, bring your own bottle and use stops to top up.
Who this tour suits best, and who should choose another option
This is a strong fit if you want a guided taste of Auckland outside the center, with a mix of beach drama, wildlife viewing, and viewpoint time. It also works well if you like learning while you go, since the ride and the stops include explanations and question time.
It’s not suitable for people with mobility impairments or wheelchair users. The tour includes walking, including a hill walk to the gannet colony, and that affects how accessible it can be.
If you’re the type who gets tired by constant switching between locations, the pacing here is pretty balanced. You have photo stops, guided time, and enough break in between to reset.
Should you book it? My decision guide
Book this tour if you want one solid half-day that hits the best scenic elements of Auckland’s west coast and North Shore, without having to plan the route yourself. The included Hallertau Brewery lunch and the guided time at Muriwai black sand and the gannet colony are the core reasons to choose it.
Skip it if you strongly dislike walking on uneven paths, or if you need strictly step-free access. Also consider that bird activity can vary by season, so if you’re expecting the colony to be at peak numbers every single time, you might be disappointed.
If your goal is value, scenery, and a guide who keeps things clear and friendly, this one is easy to recommend.
FAQ
How long is the Auckland Wild West Coast and black sand beaches tour?
The tour duration is 5 hours.
Where do I meet the group?
Meet out front of Sky Tower at the corner of Victoria and Federal Streets.
What is included in the tour price?
The tour includes a small group tour, a fully guided experience, lunch (set menu), and park entry fees.
Is entry to Sky Tower included?
No, Sky Tower entry is not included.
Is craft beer tasting included?
No, craft beer tasting is not included, but there is an optional tasting available at an additional cost after lunch.
What should I expect at Muriwai Beach and the gannet colony?
You’ll have a photo stop and time to visit Muriwai Beach, then you’ll walk up the hill to see the gannet colony. Bird numbers vary at different times of the year.
How do we return to Auckland after Devonport?
You can choose the scenic ferry ride back across the harbour from Devonport to the city, or take a fully guided drive with drop-offs at central locations and hotels.
Is the tour suitable for wheelchair users or mobility impairments?
No, it is not suitable for people with mobility impairments or wheelchair users.
West Coast and Arthurs Pass, compared.
 ★ 5.0TranzAlpine Train, Arthur’s Pass and Castle Hill Day TripFrom $254426 reviews
 ★ 4.5TranzAlpine Train Journey: Christchurch to GreymouthFrom $151312 reviews
 ★ 5.0Arthur’s Pass Discovery and TranzAlpine Train – Small Group TourFrom $555272 reviews
 ★ 4.8Arthur’s Pass: TranzAlpine Train and Castle Hill Day TourFrom $245270 reviews
 ★ 4.8Arthur’s Pass Day Tour From Christchurch via Castle HillFrom $118203 reviews
 ★ 4.5Arthur’s Pass and TranzAlpine Train Day Tour from ChristchurchFrom $347202 reviews
 ★ 4.5Arthur’s Pass Day Tour From Christchurch with TranzAlpineFrom $258192 reviews
 ★ 4.5TranzAlpine Train Journey from Greymouth to ChristchurchFrom $151182 reviews
Browse the lists this tour appears in